
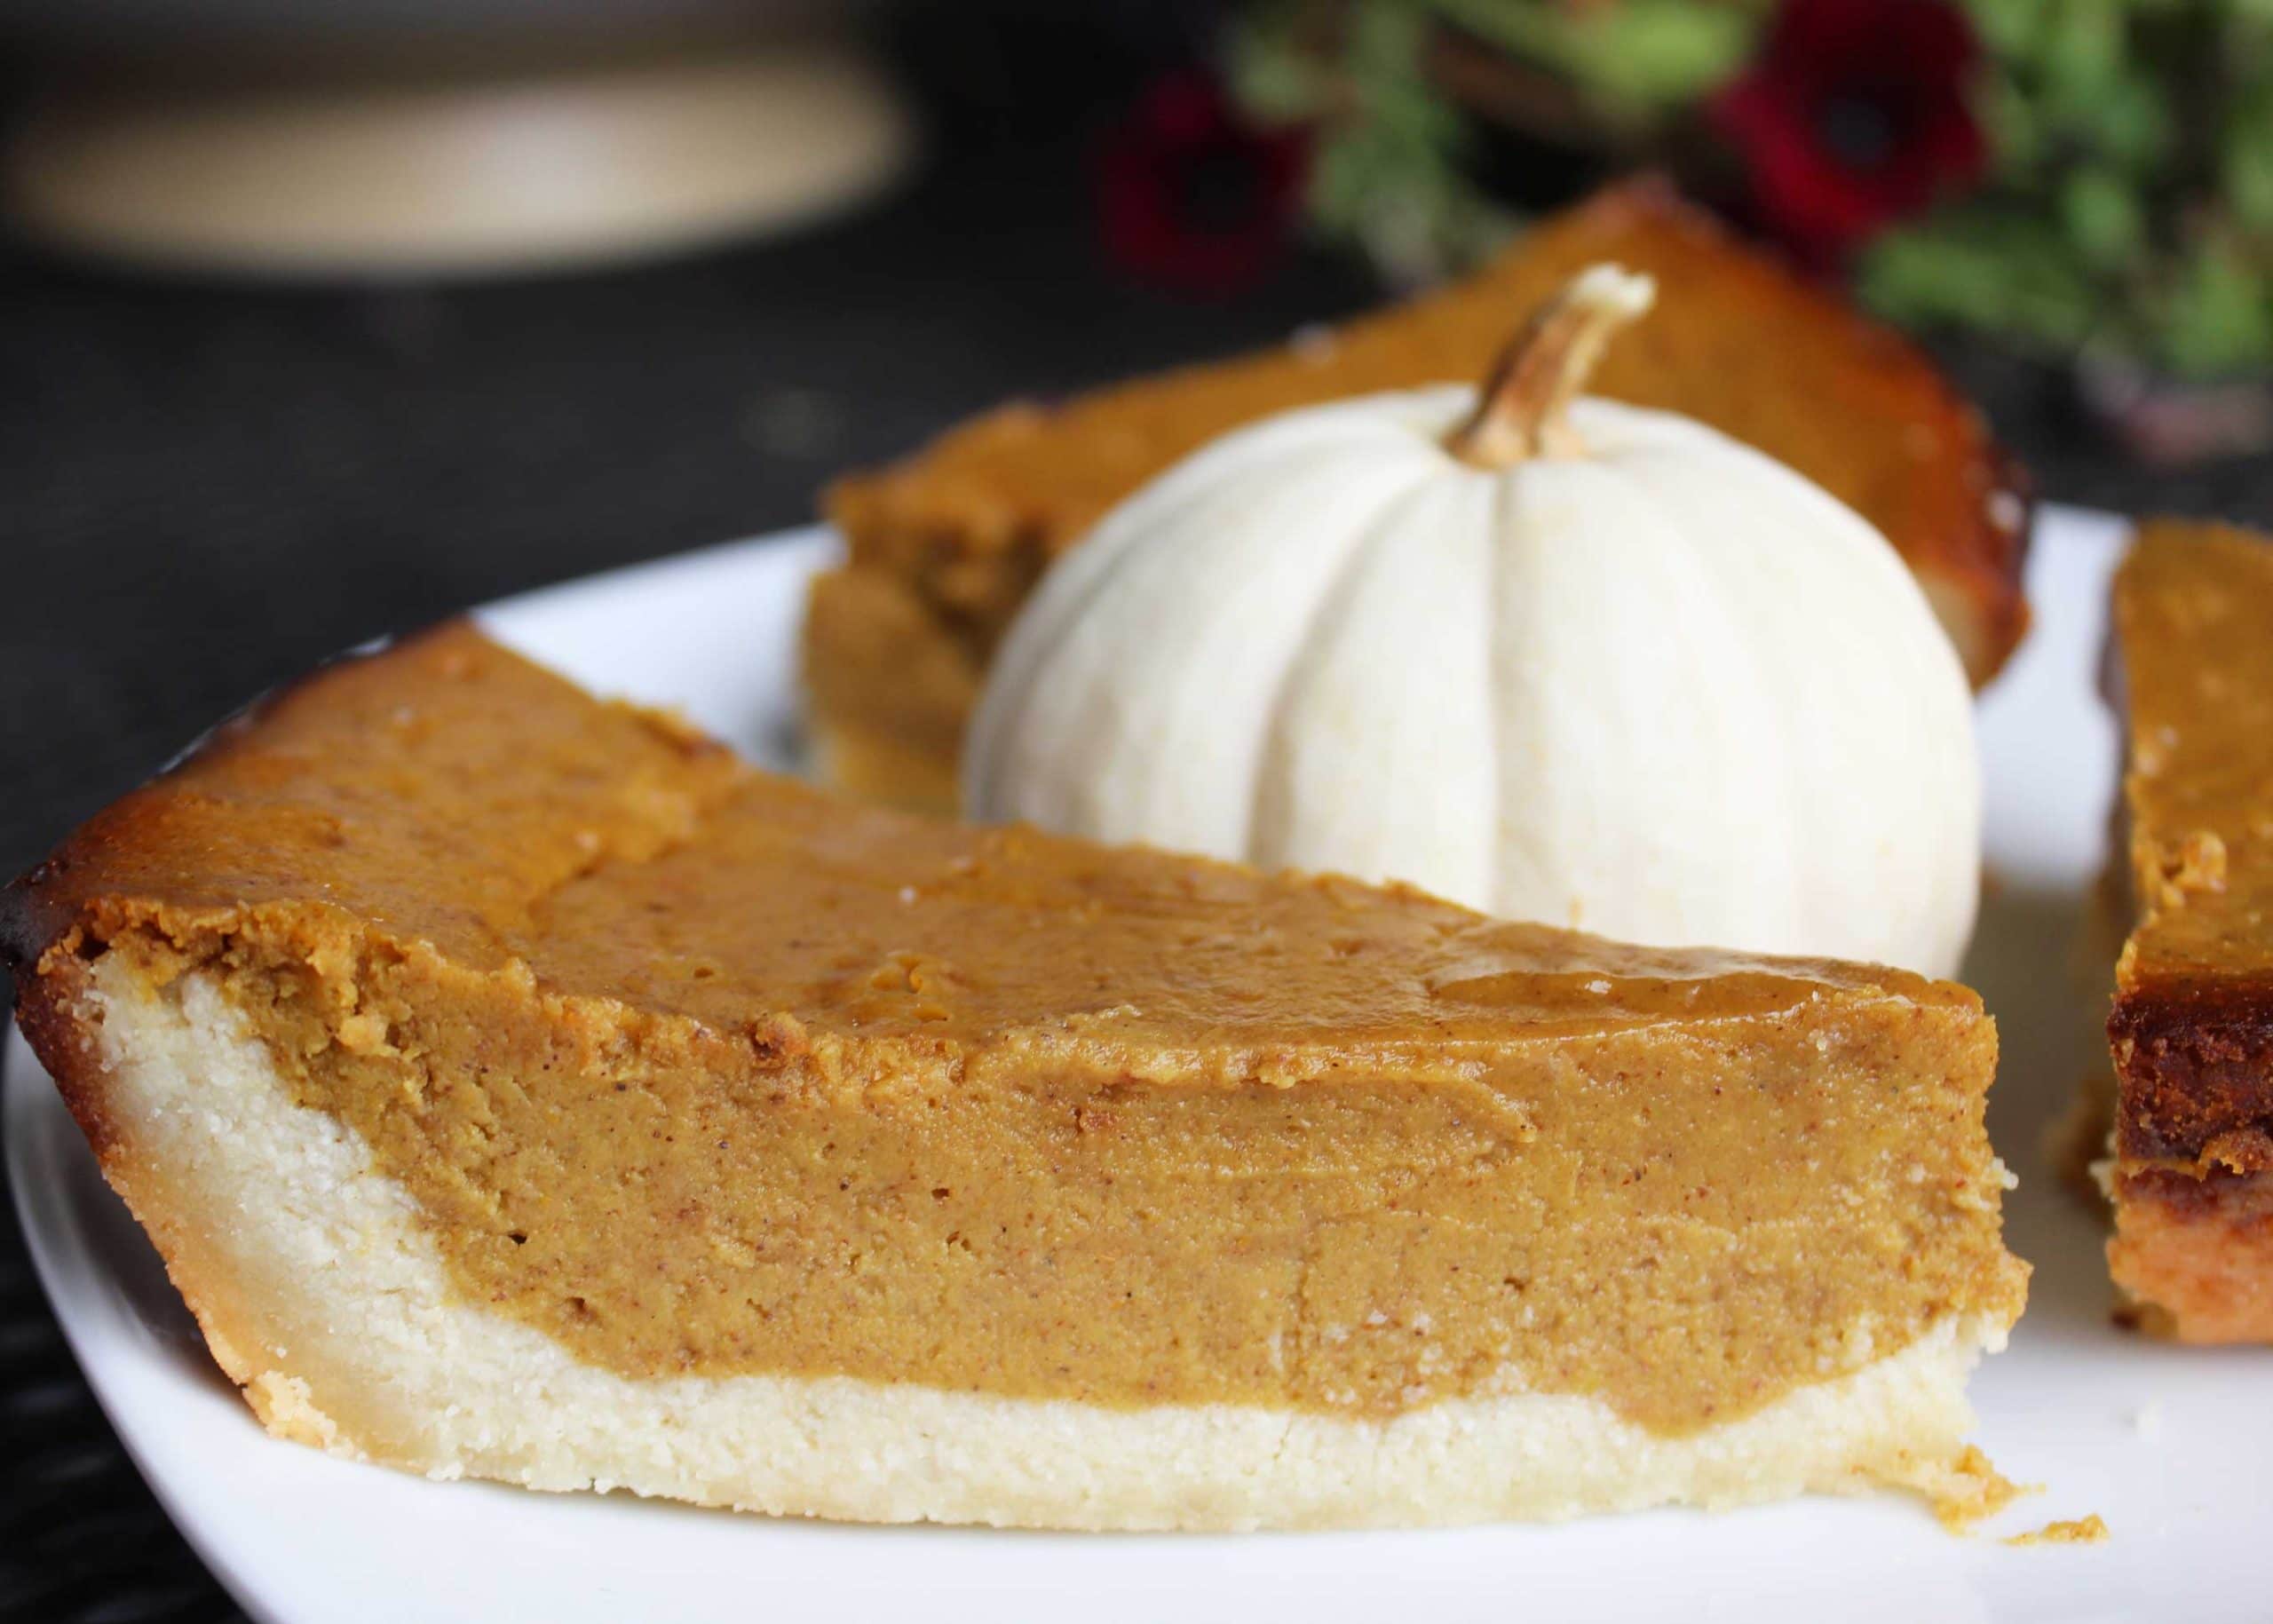
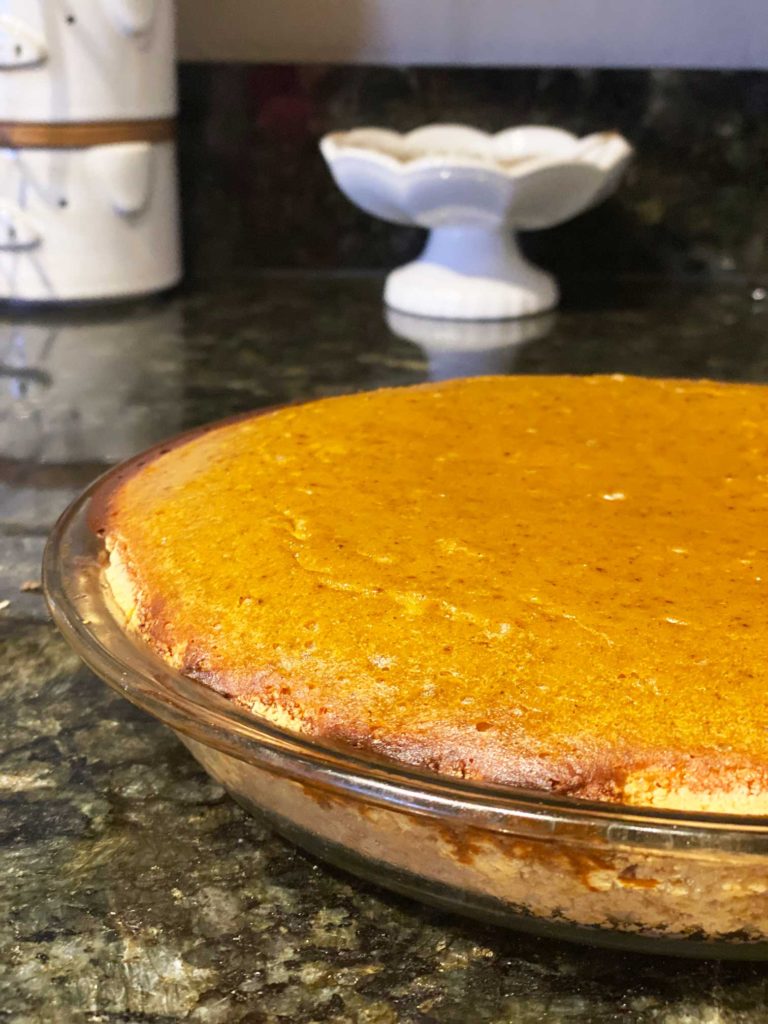
You can never have too many pumpkin recipes, right? Every year I make a version of this paleo pumpkin pie and I swear it just gets better and better. Maybe my baking skills improved over time or maybe I just got lucky this year, but OH DAMN this one is good.
I’m happy to finally have an “official” recipe for it because each year I’m trying to figure out what I did the prior year. You’d think I’d have it written down somewhere or pinned on Pinterest from a previous blogger, but no. I just could NOT find it this year.
With a little bit of memory and bits and pieces of other recipes I’ve made in the past I came up with this SIMPLE HEALTHIER PALEO PUMPKIN PIE.
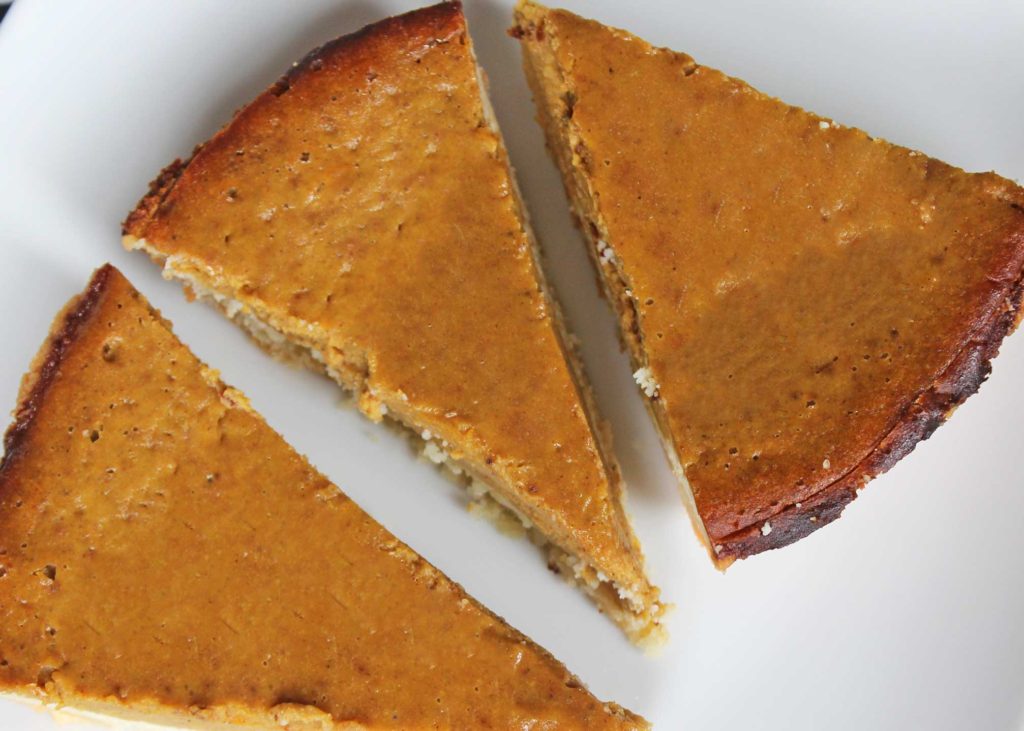
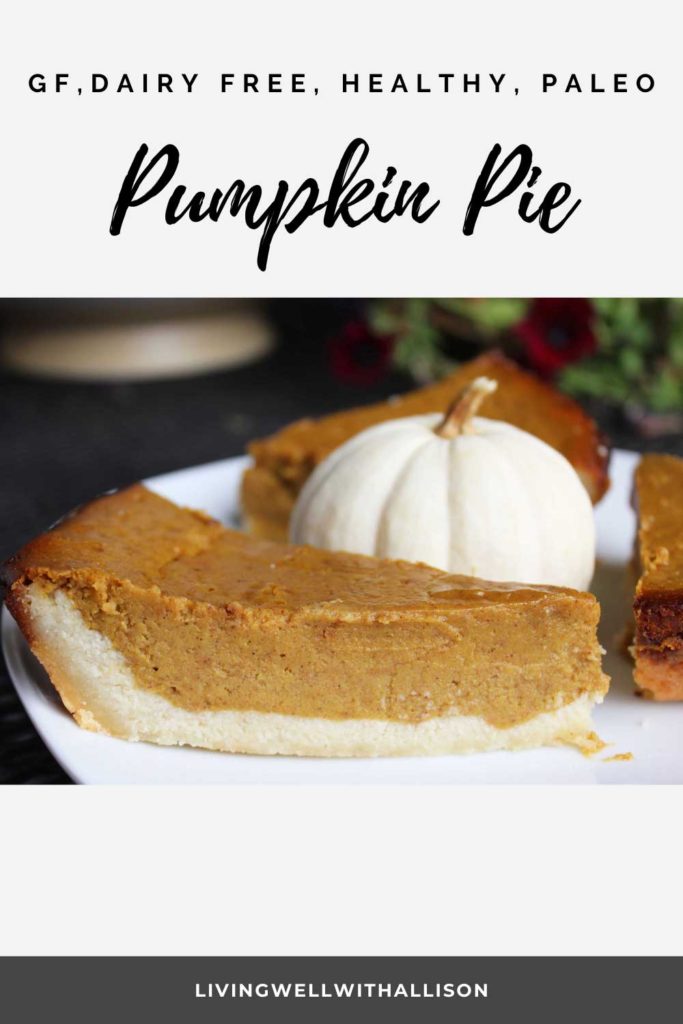
This recipe is great because it’s gluten free, dairy free, and refined sugar free (if you omit sugar or use coconut sugar for the crust). The pumpkin spice POPS, the crust is still full of flavor, and the texture is nice and creamy. I love that it’s sweetened with honey too.
Ya just can’t get any better than that.
I must mention that it’s also an easy clean up using just ONE piece of equipment: a food processor. This one here is my FAVORITE – I use it weekly. You can also try to mix by yourself, but I find a food processor is your best bet to make it the right consistency. A high speed blender such as a ninja or vitamix will also work.
Place all crust ingredients in the food processor, blend.
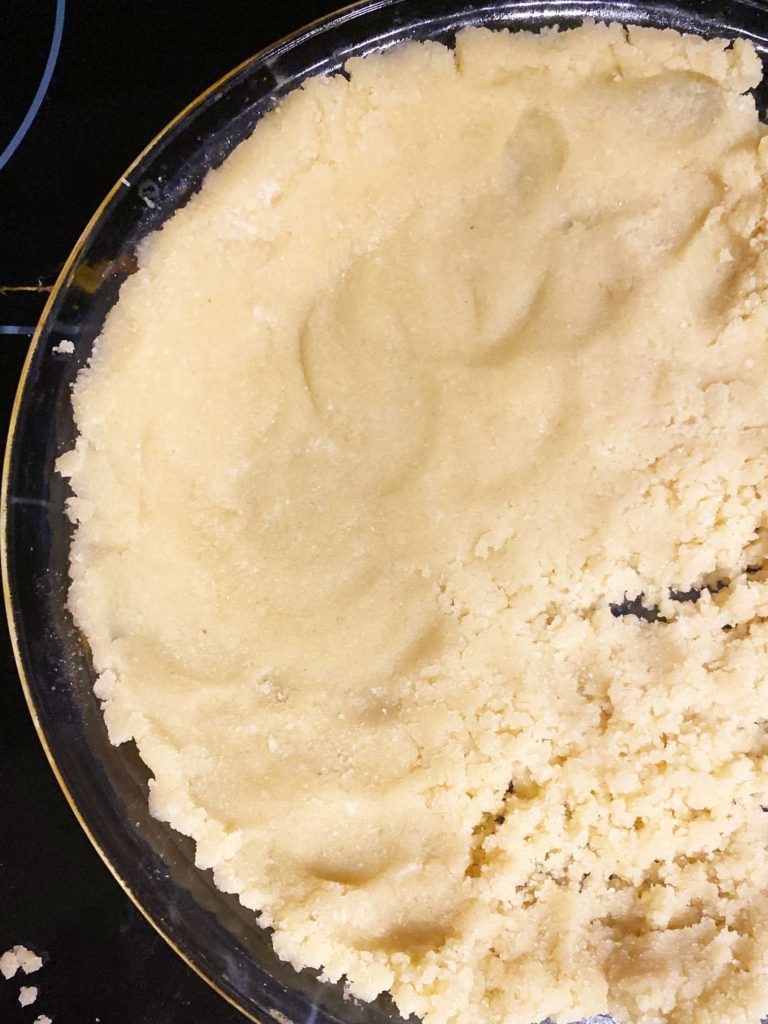
Put that in the pie pan. Press down.
Rinse food processor.
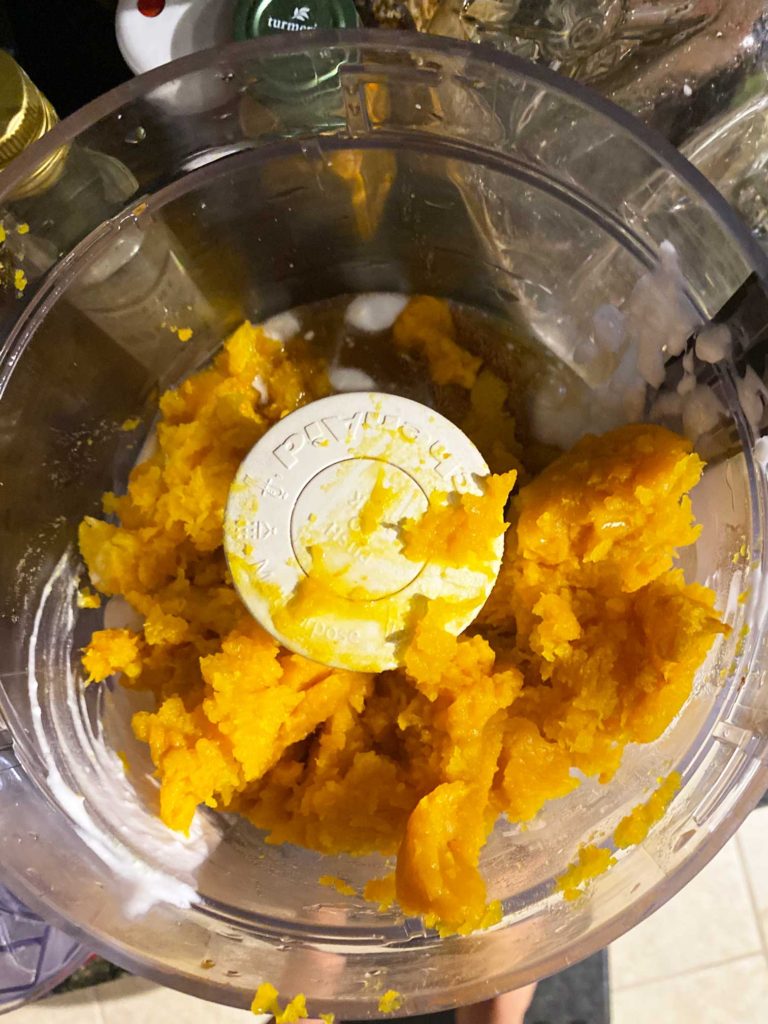
Place all filling ingredients into the food processor, blend.
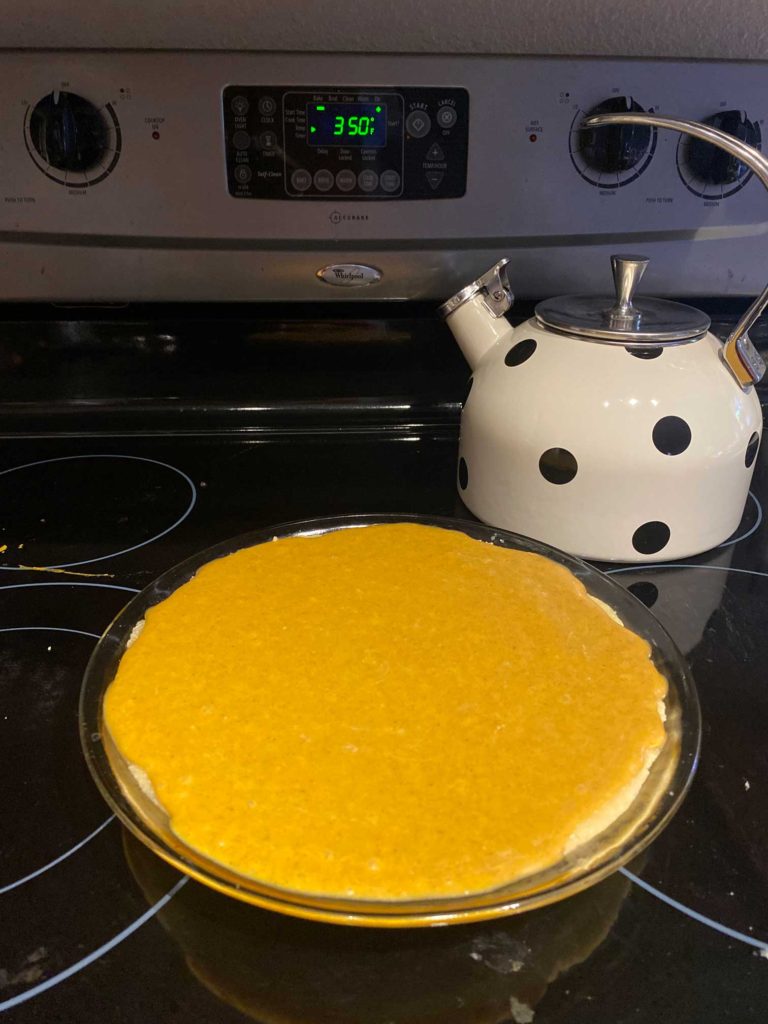
Pour into the pie pan.
Take the dish and tap it directly down on the counter to remove any bubbles formed from the processor.
Bake.
Remove after 40 minutes, add pie crust shield to prevent the edges from burning OR cut foil and wrap around the edges of the pie pan. Bake for another 20 -25 minutes or until the pie crust is set.
That quick, that simple, that’s it.
Be careful not to place directly in the fridge after baking. Make sure the pie is completely cooled down to room temp first.
If the pie is cooled too quickly then it will crack and separate and you will no longer have a pretty looking pumpkin pie to take over to the friendsgiving.
It’s a simple step – but a very important one if you want a good looking and healthier twist to a pumpkin pie to show off to all your friends.
Lastly, this pie is delish by itself, but if you want to kick it up a notch then buy some coconut whipped cream to top it off!
If you want the same yummy pumpkin spice flavor that I used for this recipe then check out my Homemade Pumpkin Spice. You might also like my Paleo Pumpkin Muffins for a breakfast treat. Pumpkin muffin for breakfast and pumpkin pie before bed? Yup. I’m all about it.

| Prep Time | 15 minutes |
| Cook Time | 1 hour |
| Servings | slices |
- 2 cups almond flour
- 1 large egg
- 2 tablespoon coconut oil
- 1 tablespoon sugar cane sugar or coconut sugar *optional
- 2/3 cup coconut milk full fat
- 15 oz pumpkin puree canned or fresh
- 1/3 cup raw honey
- 3 large eggs room temp
- 1 teaspoon vanilla extract
- 1 tablespoon pumpkin pie spice
Ingredients Crust
Filling
| |
- Preheat the oven to 350 degrees F.
- Place all crust ingredients (almond flour, egg, coconut oil, and sugar) in a food processor or high speed blender. Mix well.
- Once the crust starts to form into small balls, then remove the mixture from the food processor and place inside the pie dish. Press the crust down evenly in the pan with a flat object. (I used the bottom of a measuring cup).
- Rinse out the food processor or high speed blender and add in all the pie ingredients (pumpkin puree, coconut milk, honey, eggs, pumpkin pie spice, and vanilla extract). Blend until smooth.
- Pour the filling into the pie pan. No need to bake the crust first.
- Place in the oven and bake for 40 minutes, remove and add a pie crust shield or cut foil to cover the crust. Bake for another 20 minutes, or until the center is set.
- Let cool at room temperature to prevent separation and cracking, then place in the fridge to firm up.
- Enjoy with some coconut whipped cream or by itself. Have fun sharing with friends and family over the holiday season!
Don't forget to use my Pumpkin Pie Spice for that added Y U M flavor to this pie!