Apple Chai Oat Muffins

Apple Chai Oat Muffin

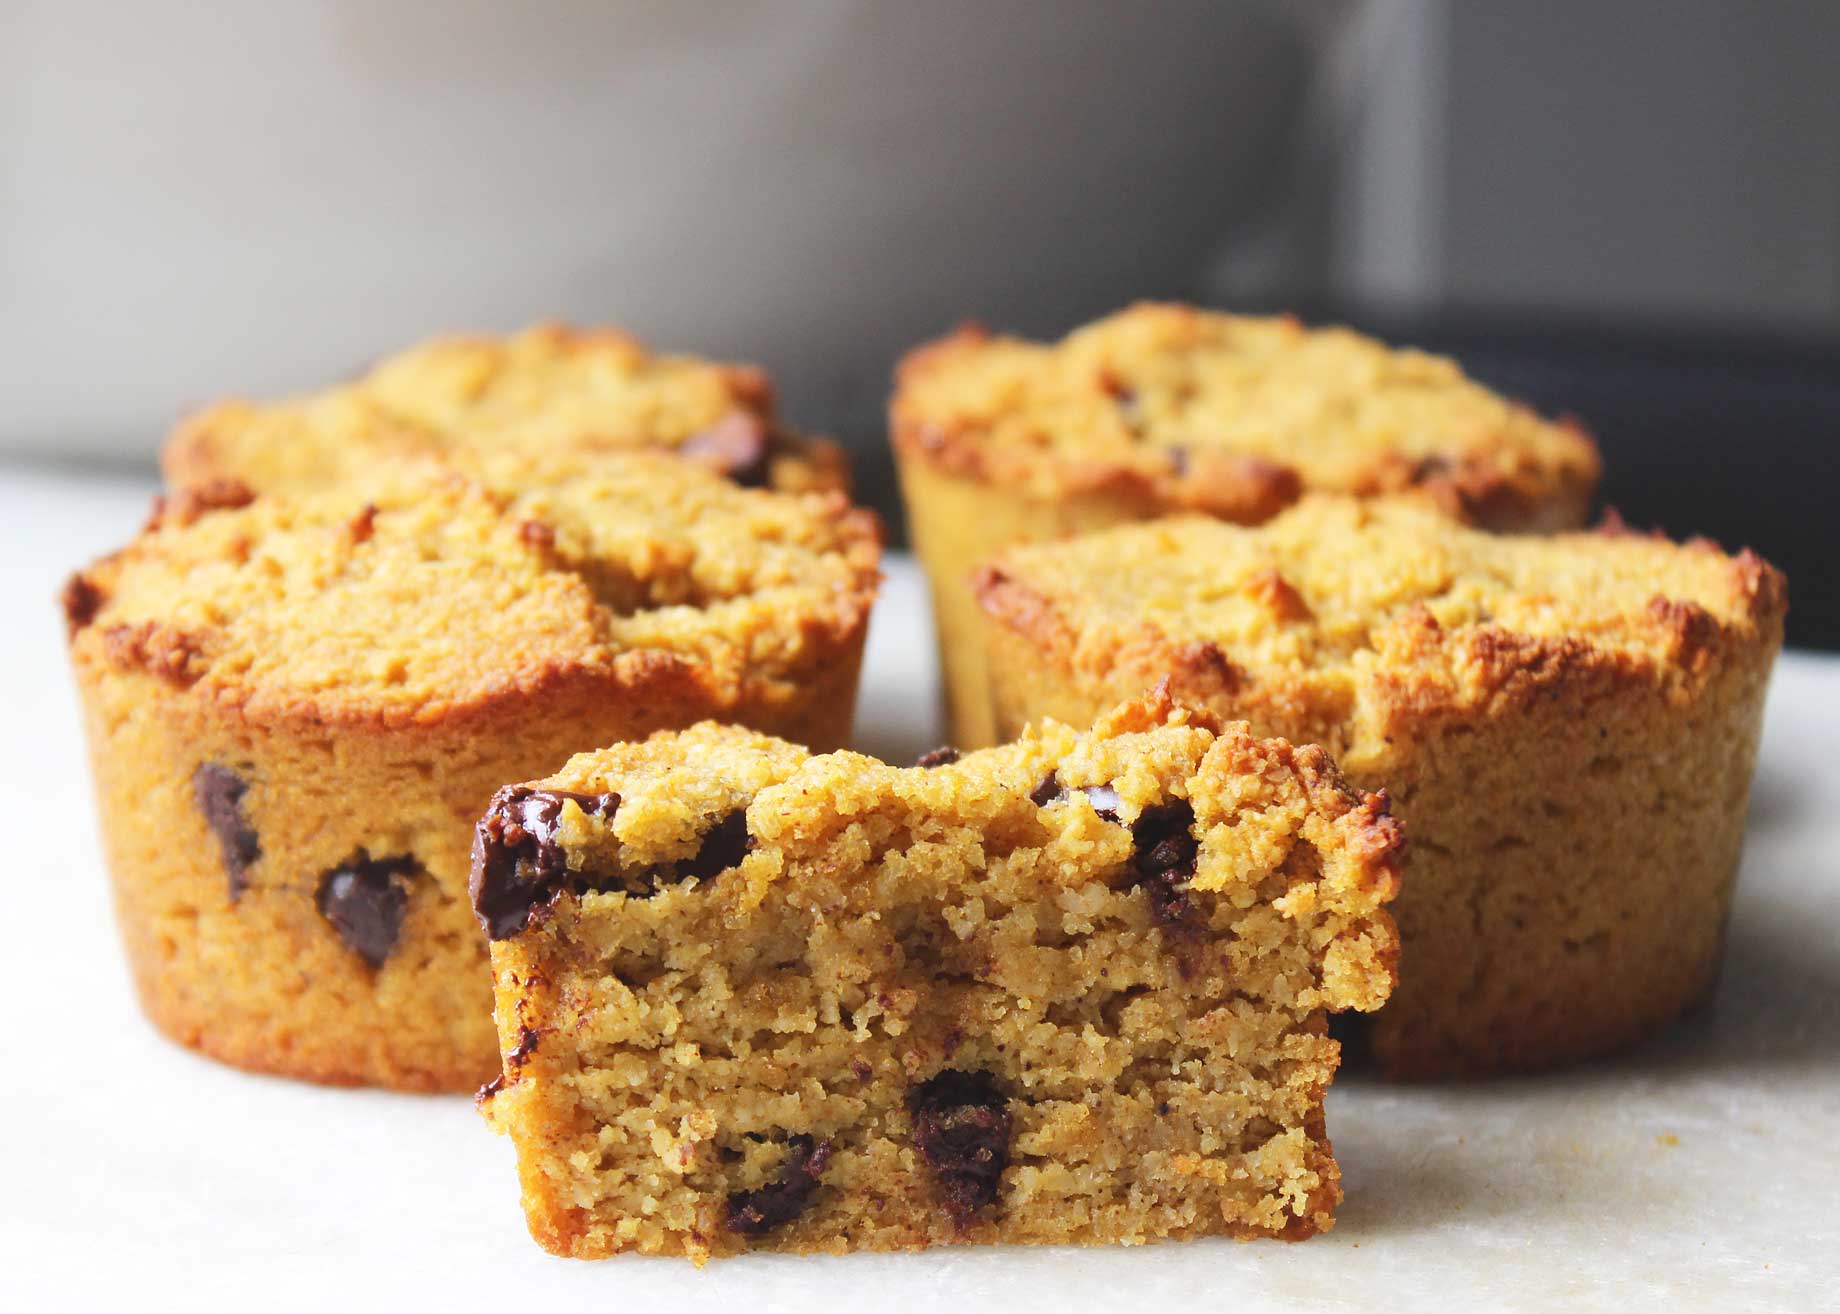
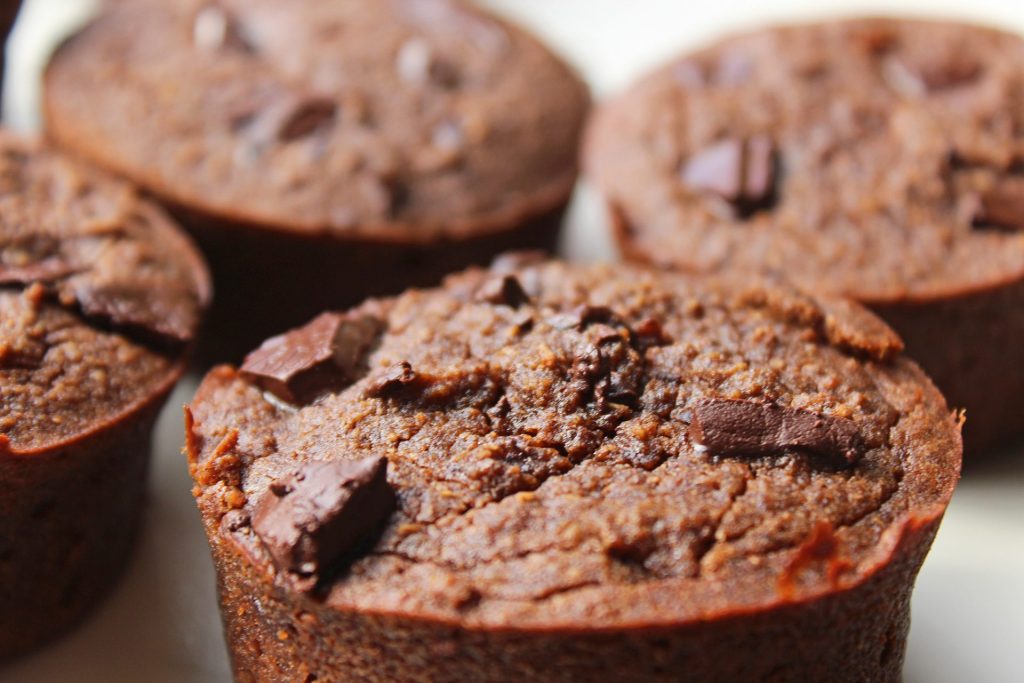
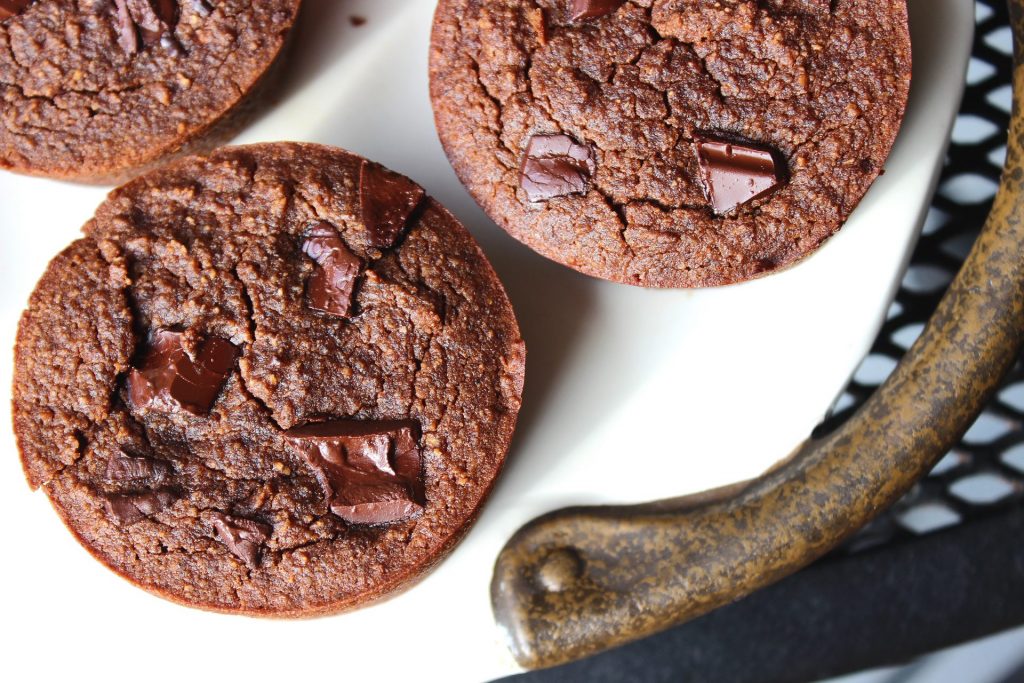
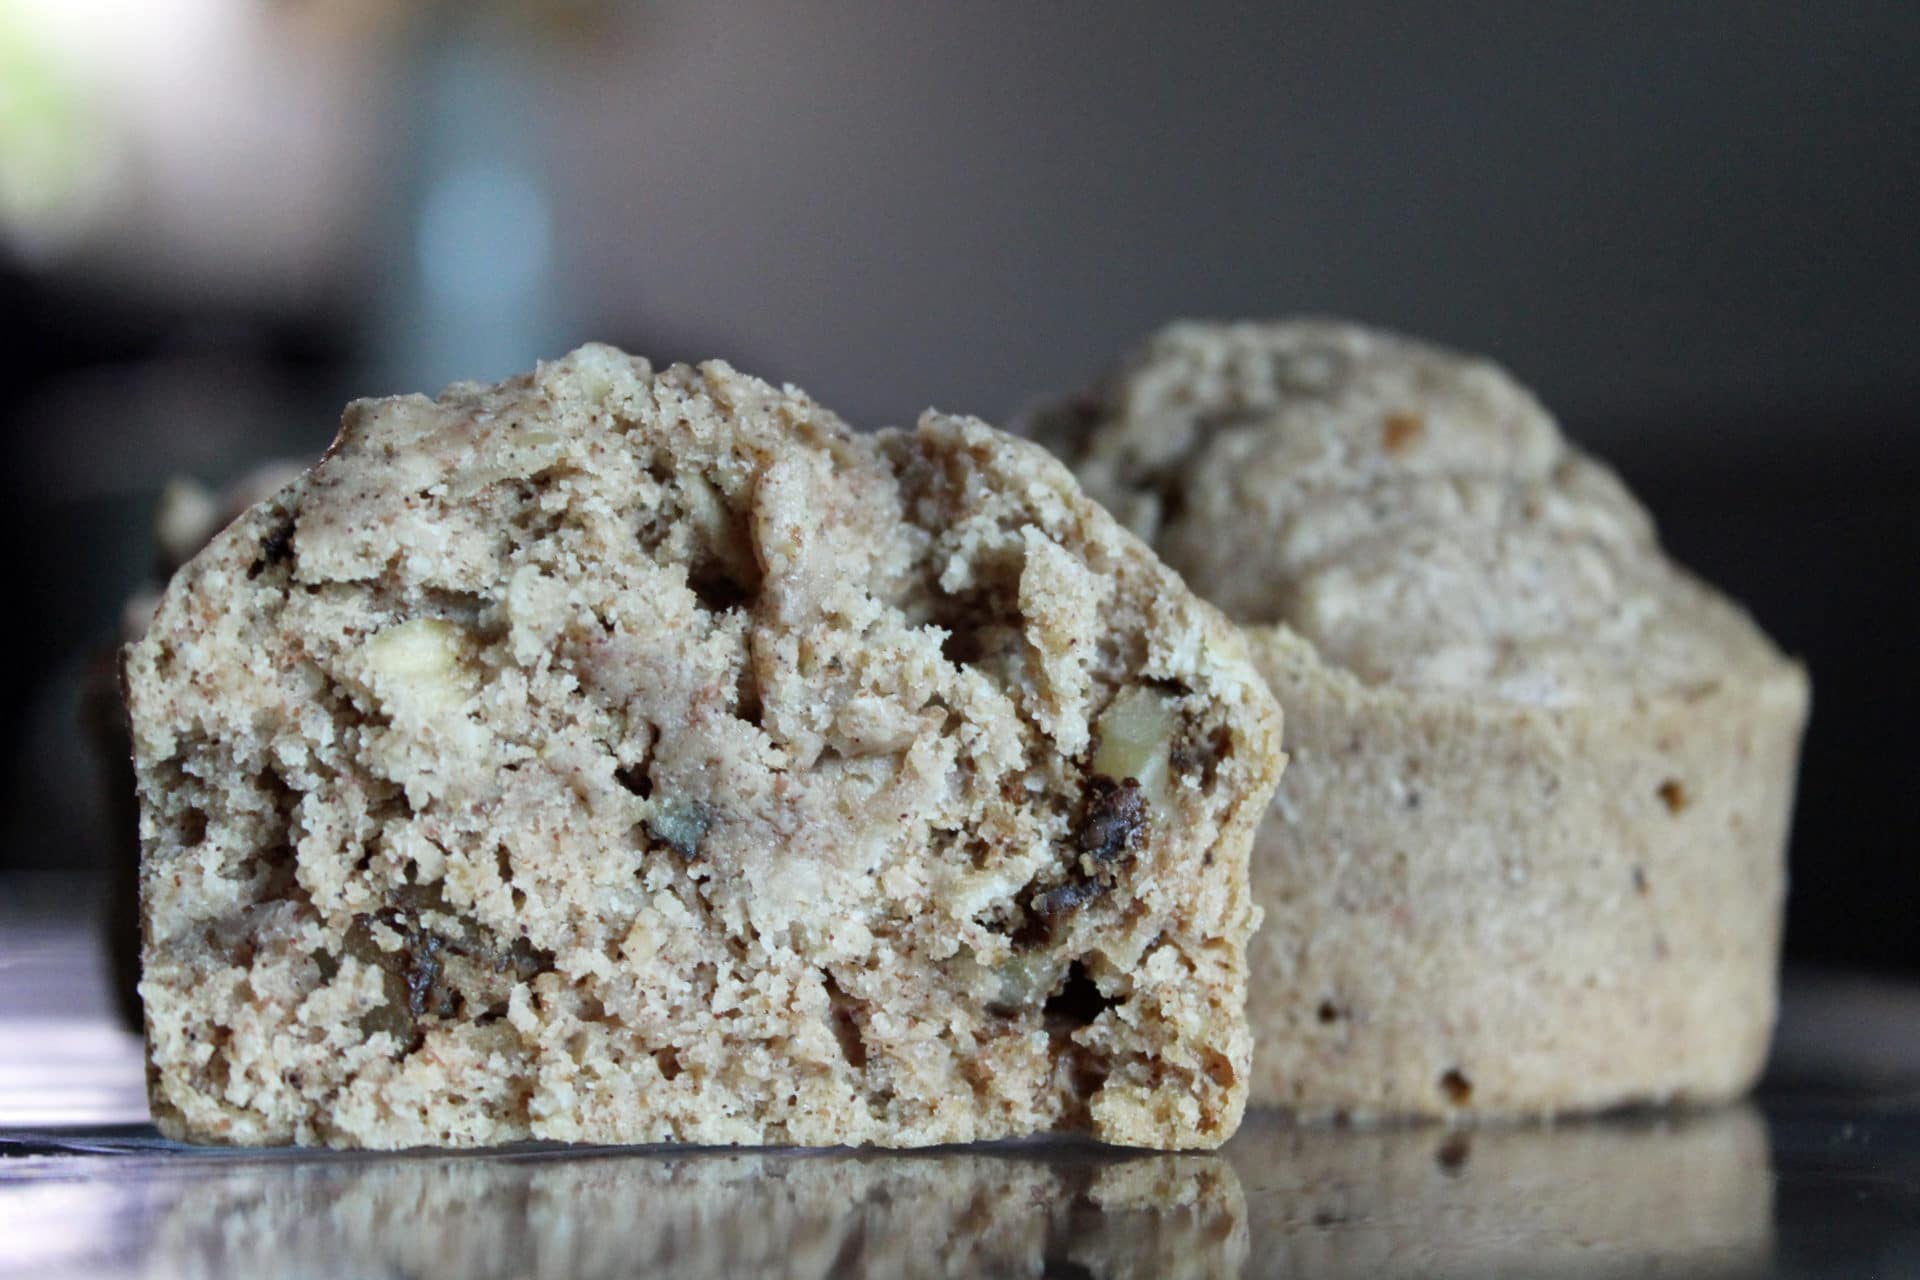
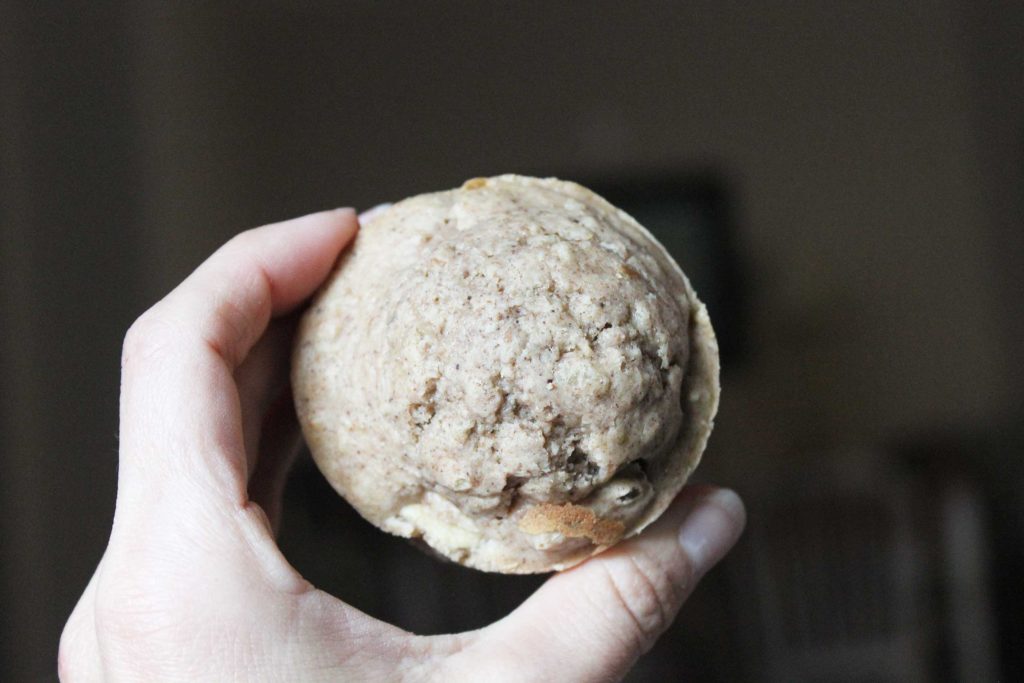
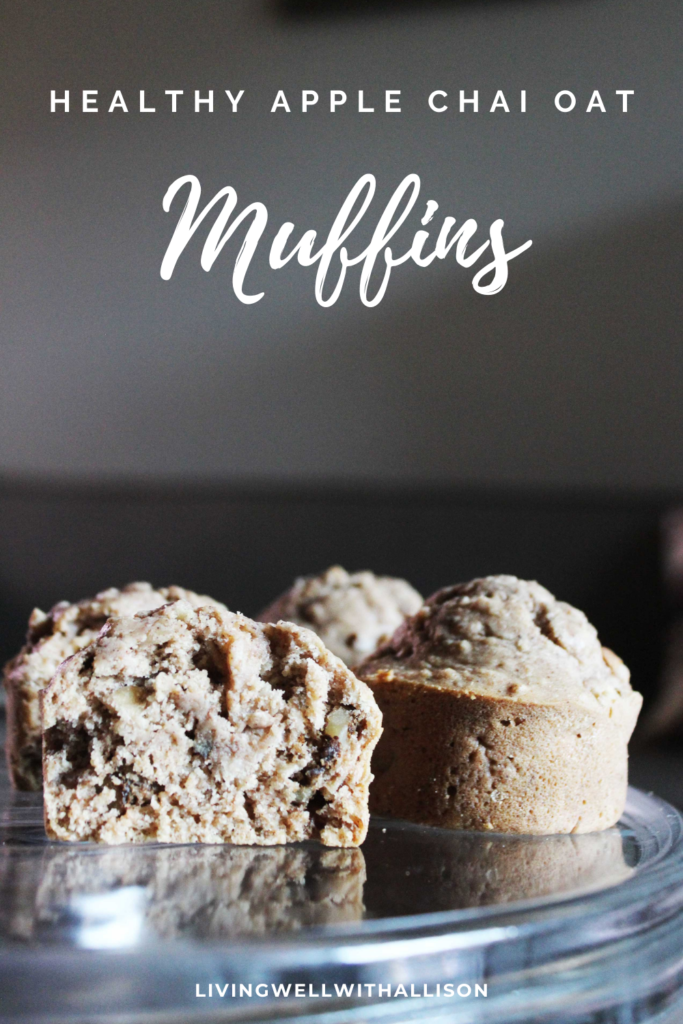
A perfectly spiced, flavorful, moist chai muffin in the morning with a cup o’ joe (or tea!) is the perfect way to start off your day.

These muffins are filled with whole grains to help keep blood sugar levels from spiking. They are also sweetened with honey only – and just enough for that added touch of sweetness. Although the applesauce and chai spices are what really give this muffin the flavor that kicks it out of the park. Oohh, I’m also thinking it’d pair well with some hot and fresh apple cider. (Try that out and let me know how you like it!)

Health Guide free PDF

Enjoy A New & Healthy On the Go Snack

We can’t resist grabbing one, or two, or three chai muffins before rushing off to work. If you need a grab n’ go breakfast or a mid day work snack – this is it! It’s great to pair with a boiled egg. Prep the boiled eggs and muffins on the weekend and you’ll be set for the week.

Apple chai oat muffin

You can also balance it out with some more protein by adding in a few scoops of collagen powder (it won’t affect the flavor or consistency). I love adding this collagen to my baked goods. Honestly, I forget that it’s even in there sometimes.

We’ve been SUPER busy working full time, packing, and getting ready to move into our NEW HOME! YAY!

NEWSLETTER SUBSCRIPTION

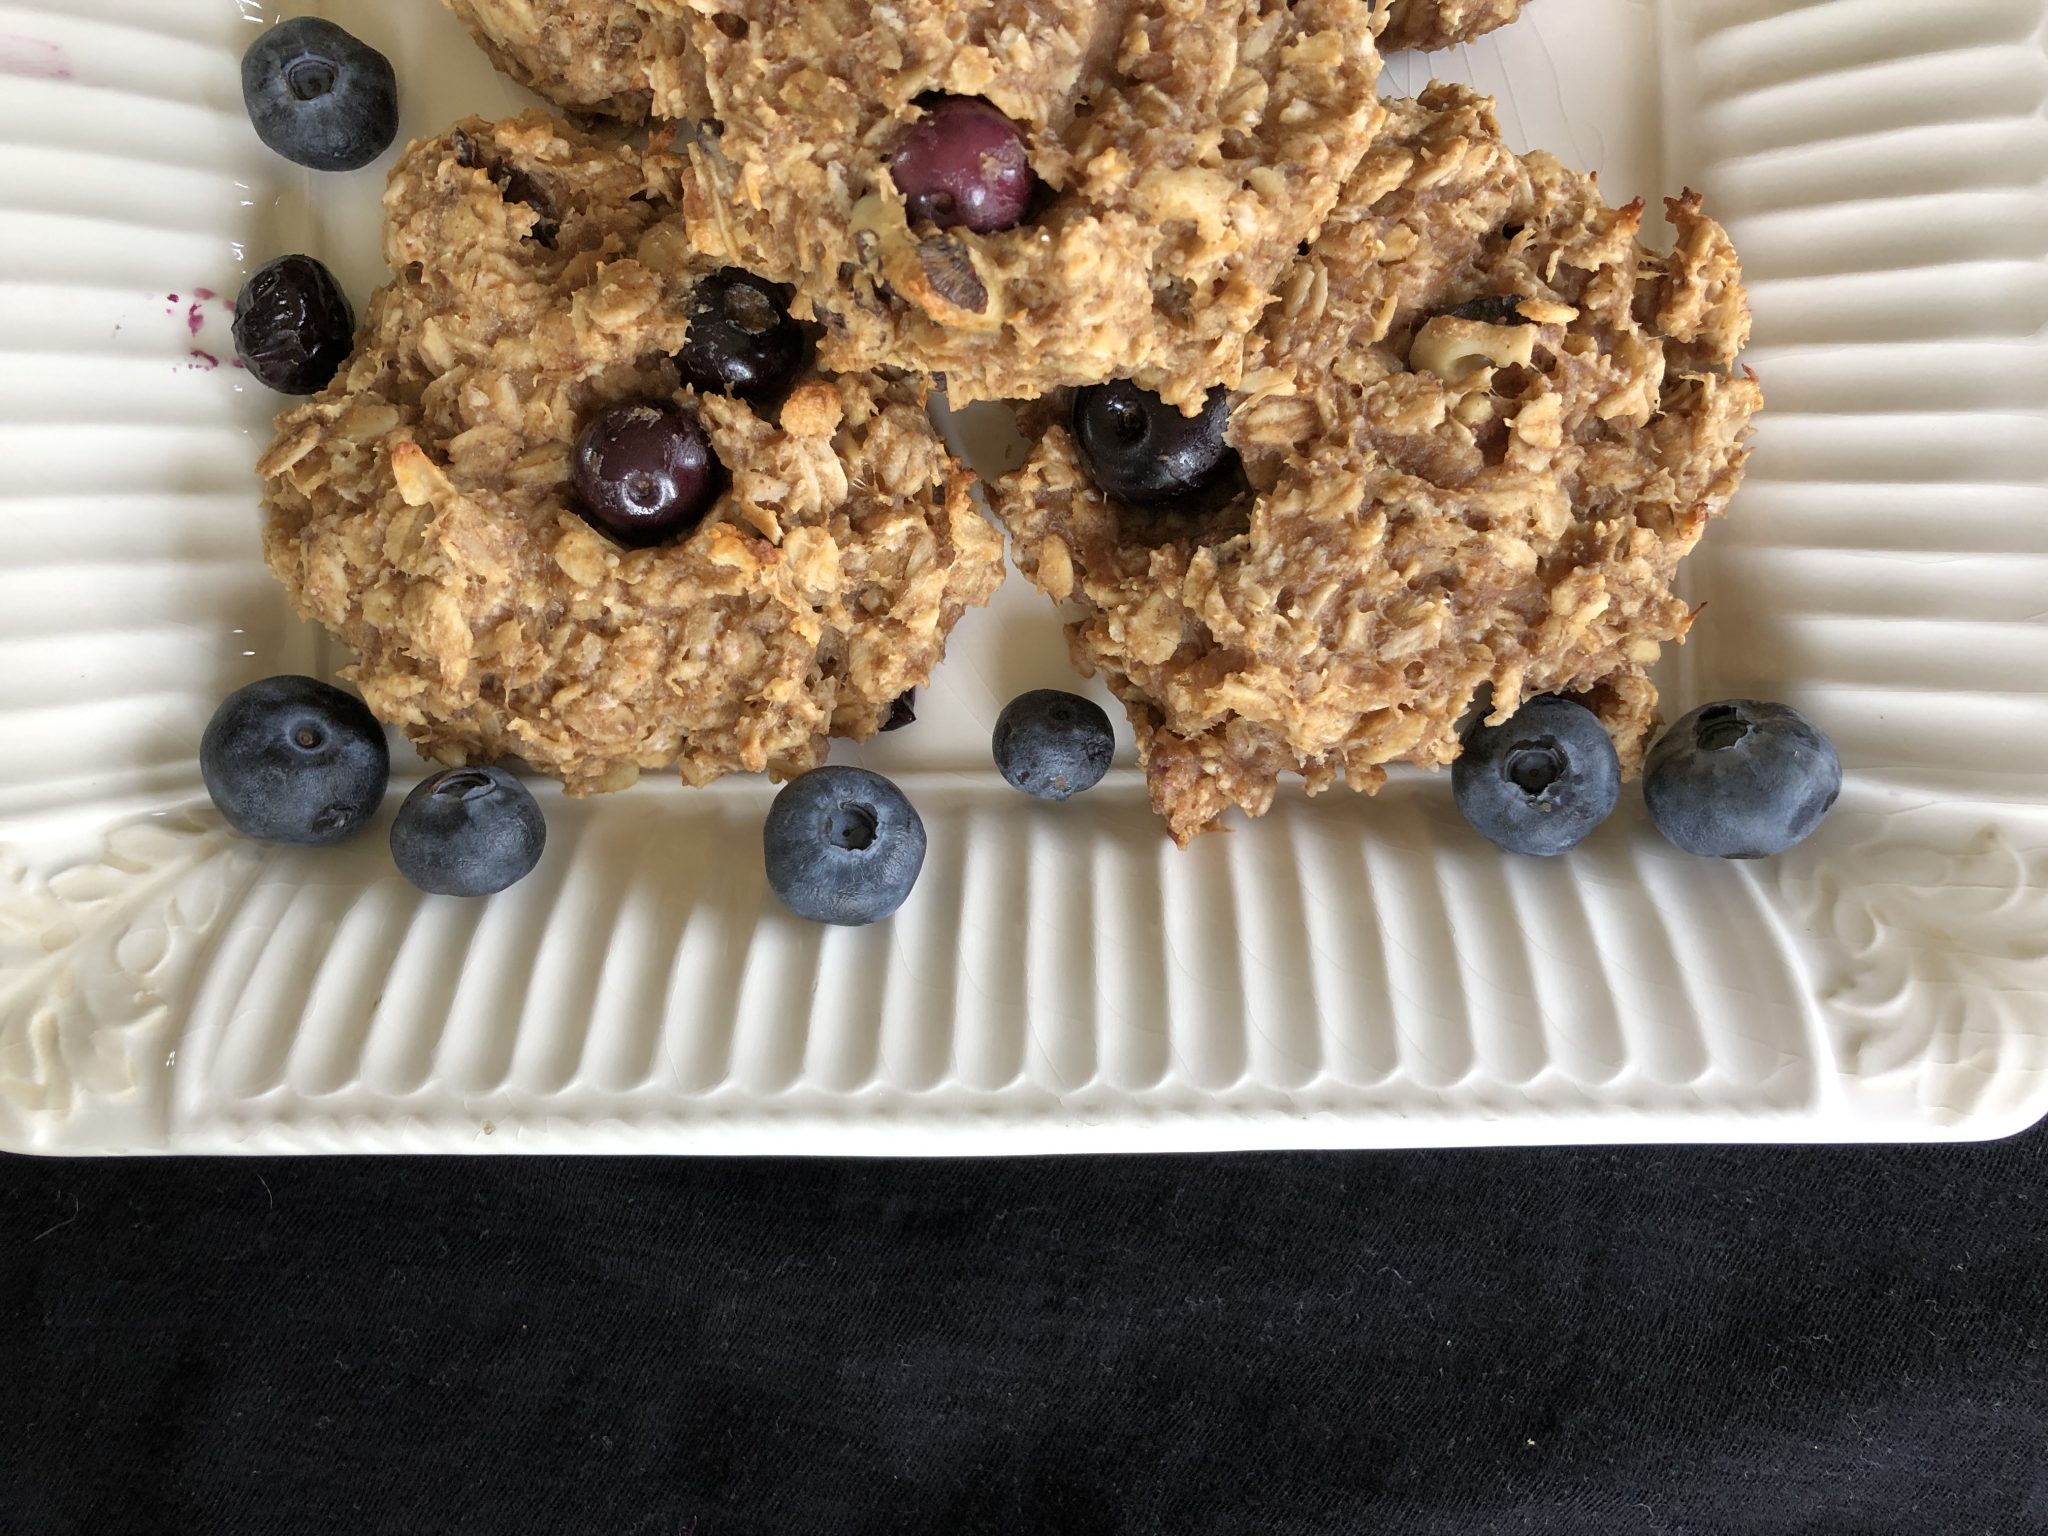
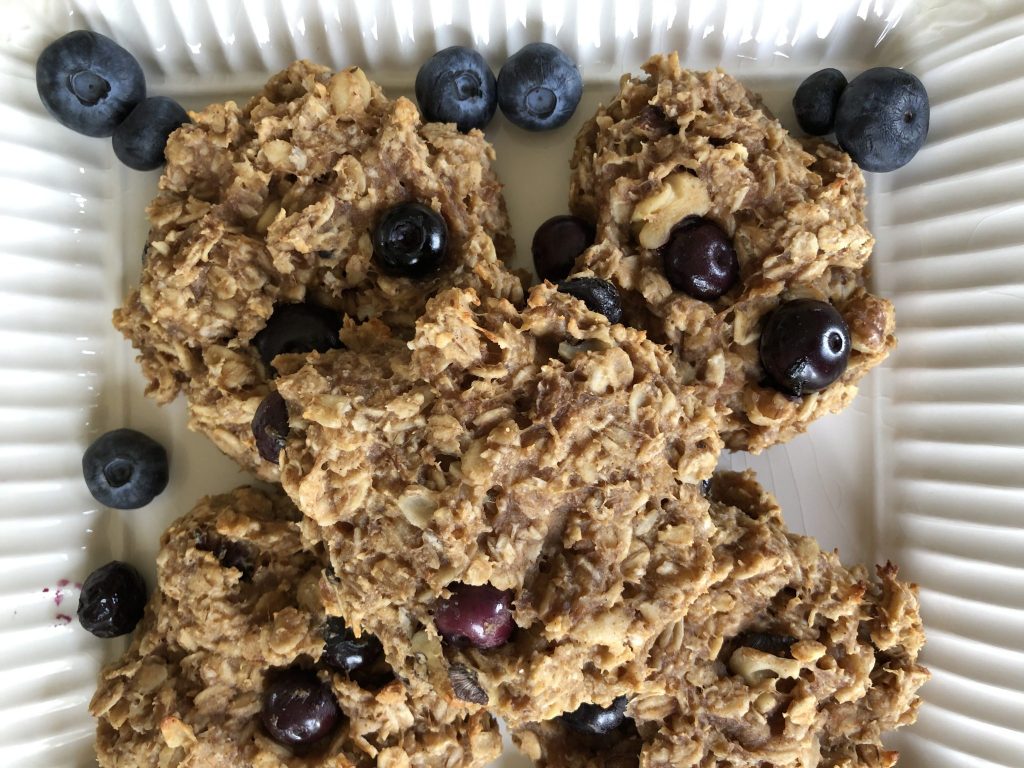
In the mean time I’ve made some other variations of this chai muffin recipe. I’ve done blueberry and even a cranberry orange (that one was pretty bomb). Hopefully once everything is unpacked I can re-make them and share the recipe with you – stay tuned!

Our slow as molasses wifi has also been driving me bonkers. Once we get fast wifi I can’t wait to bust out more delishhh recipes as well. Right now the process is pain stakingly slow. Like I can’t even save this page right now, you have no idea how irritating it is. How is one to start a blog when they have awful wifi service??

That being said I only have two more days of this, then we are outta here! Staying positive my friends…

Because ultimately, LIFE IS WHAT YOU BAKE IT

P.S. How’s your Christmas shopping going? I’m excited to decorate our new home and make lots of Christmas baked goods (clearly I love my baked goods… ’tis the season!)

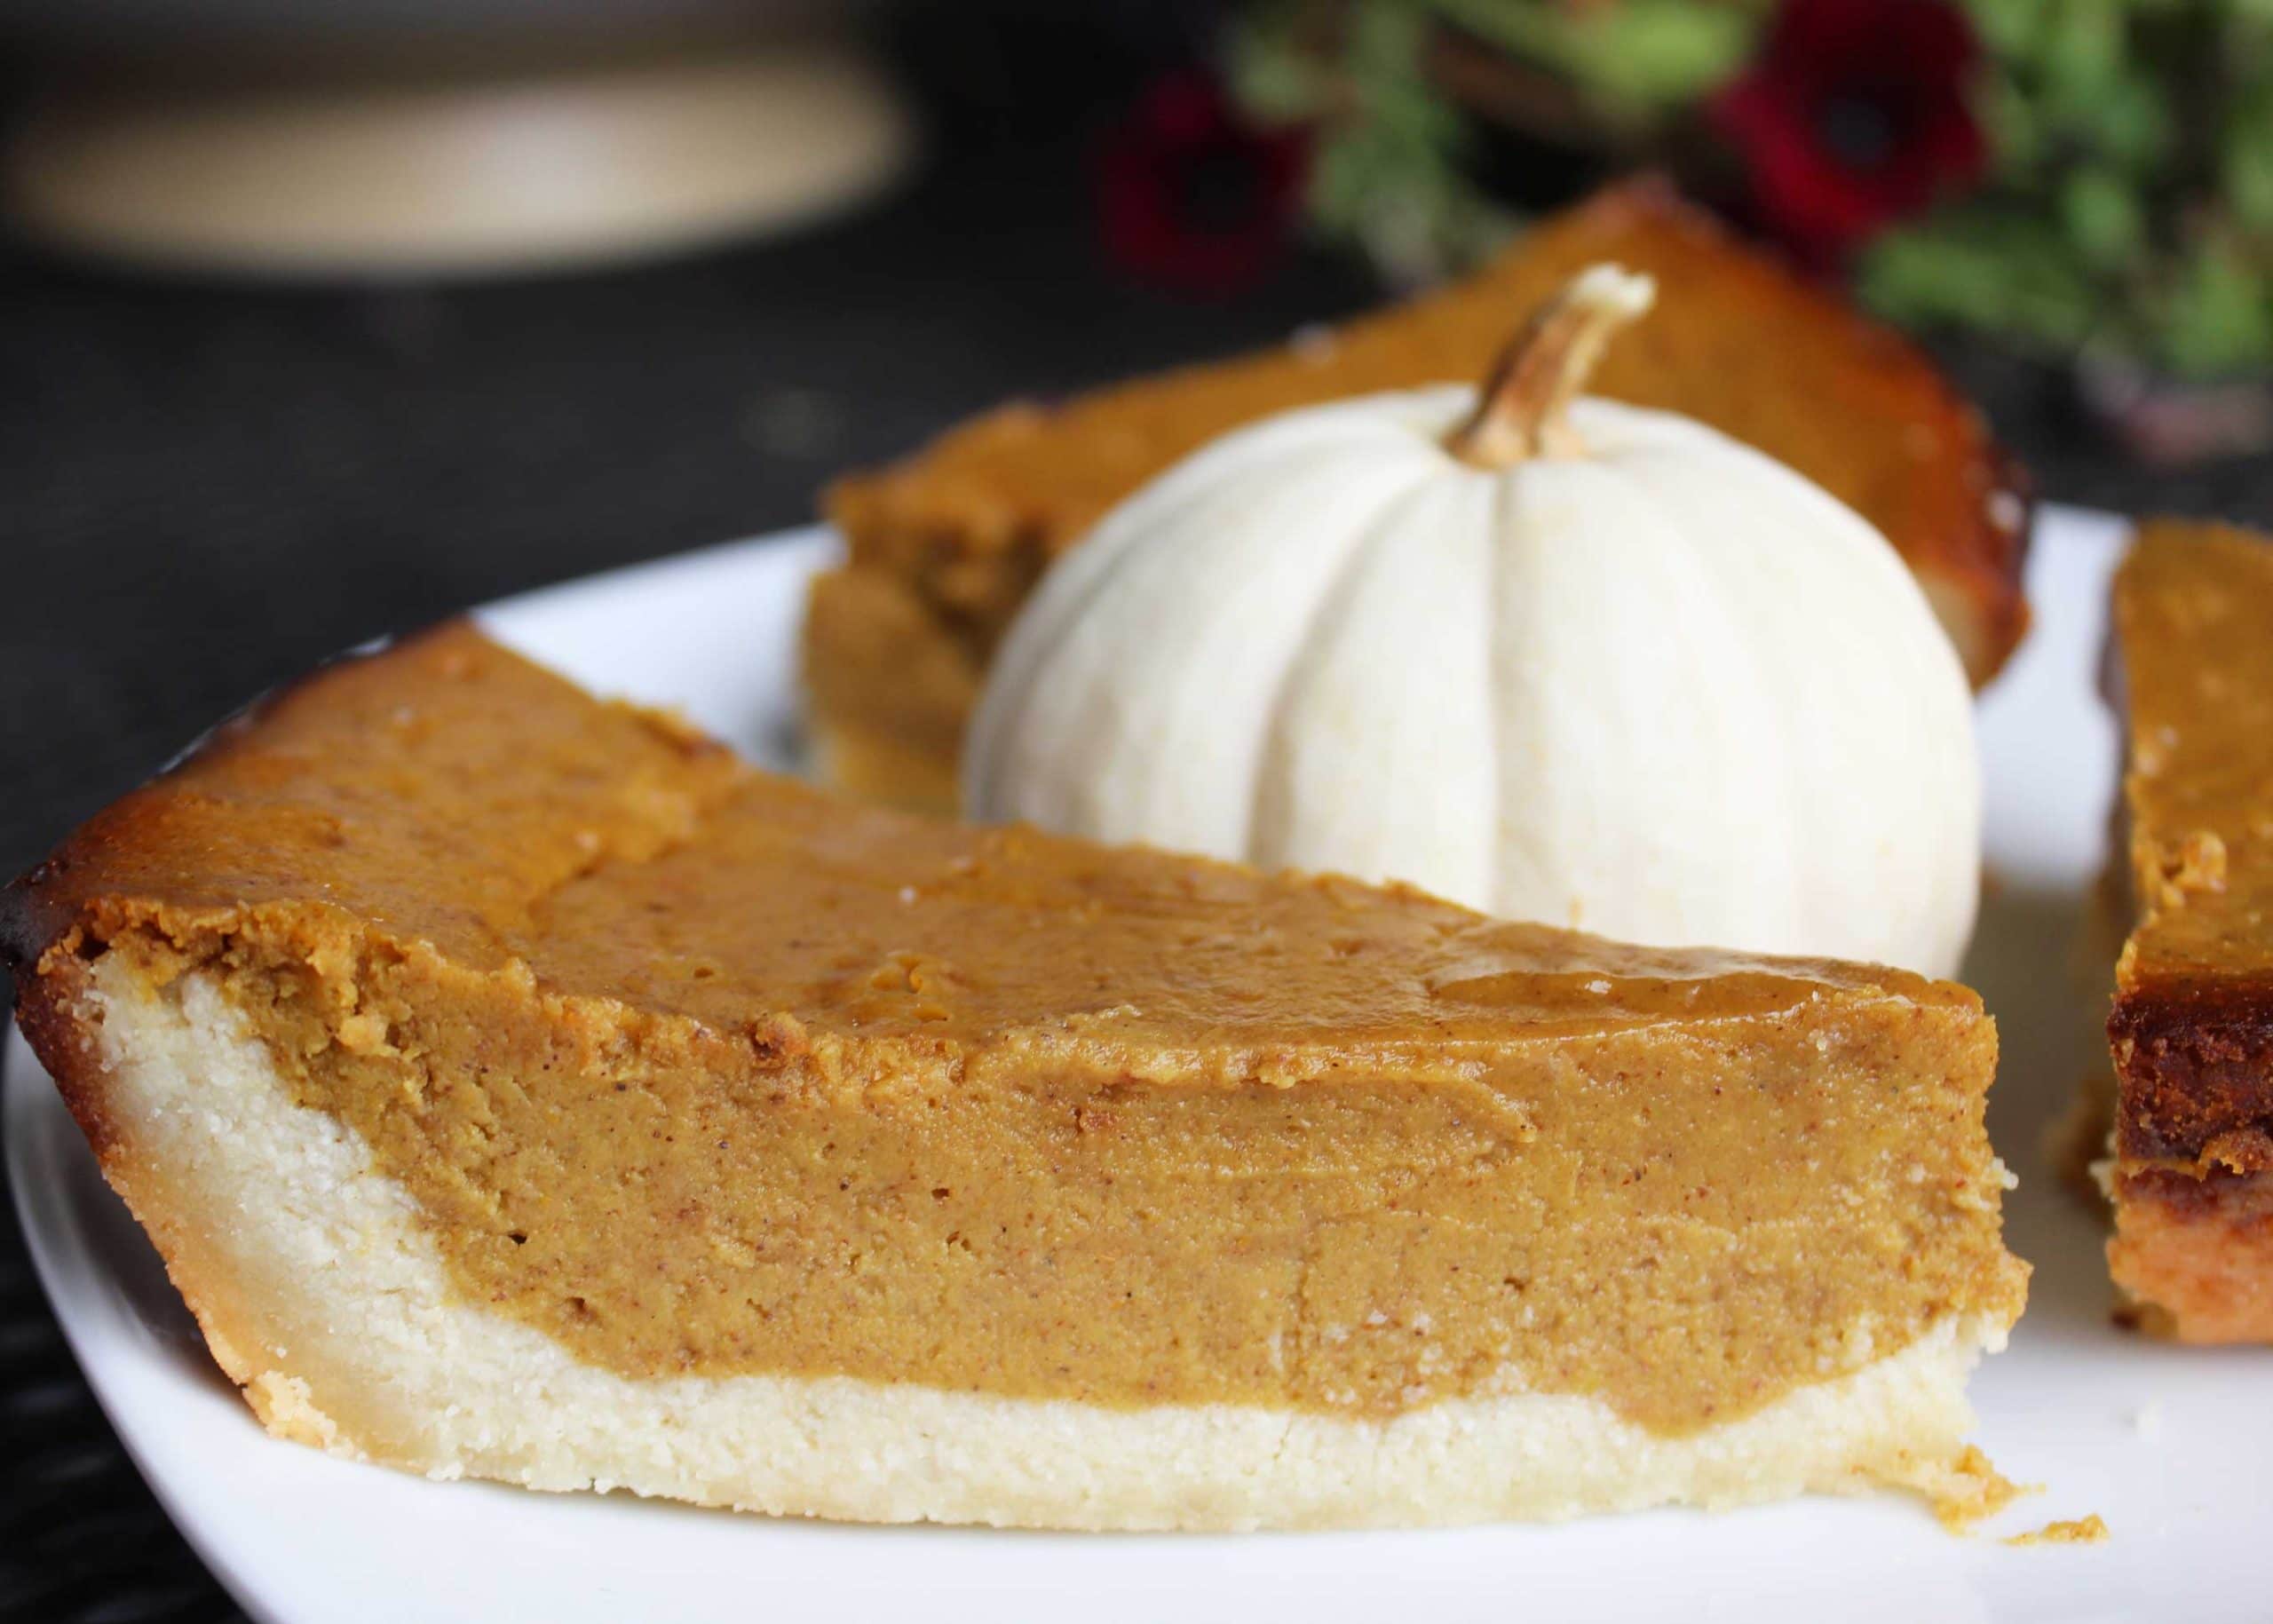
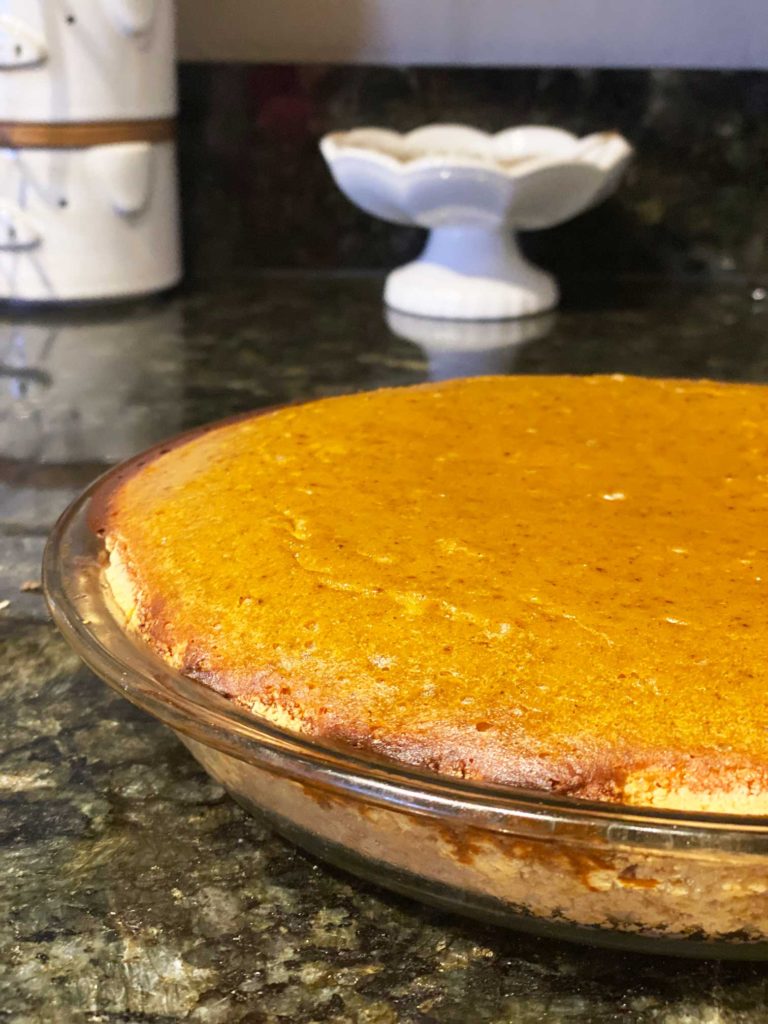
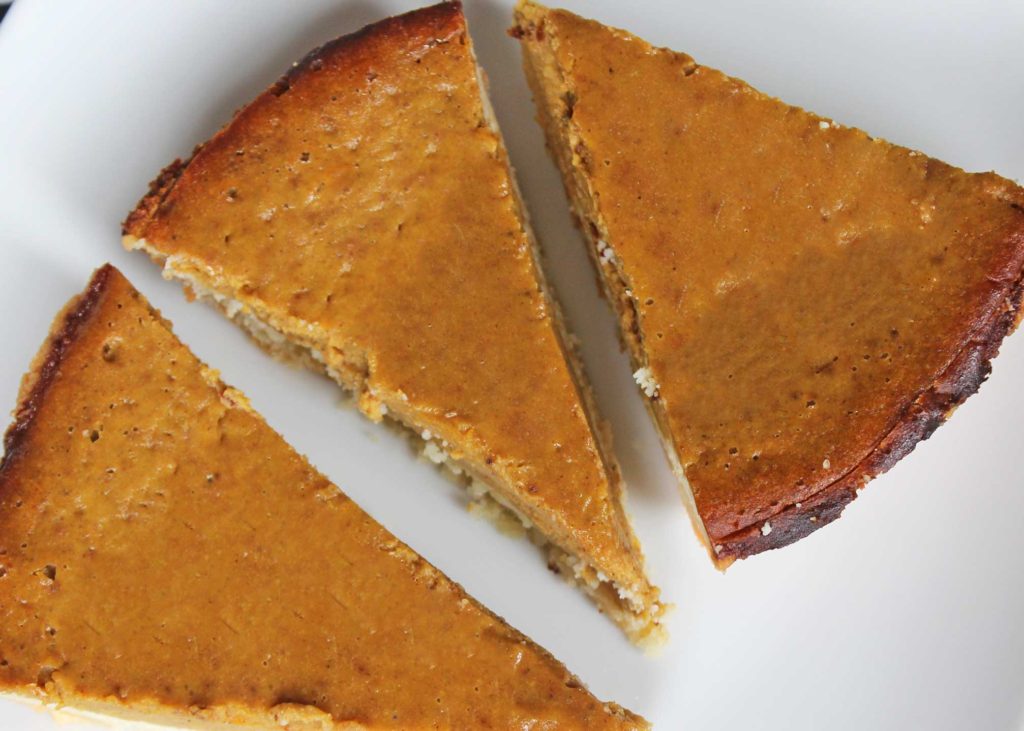
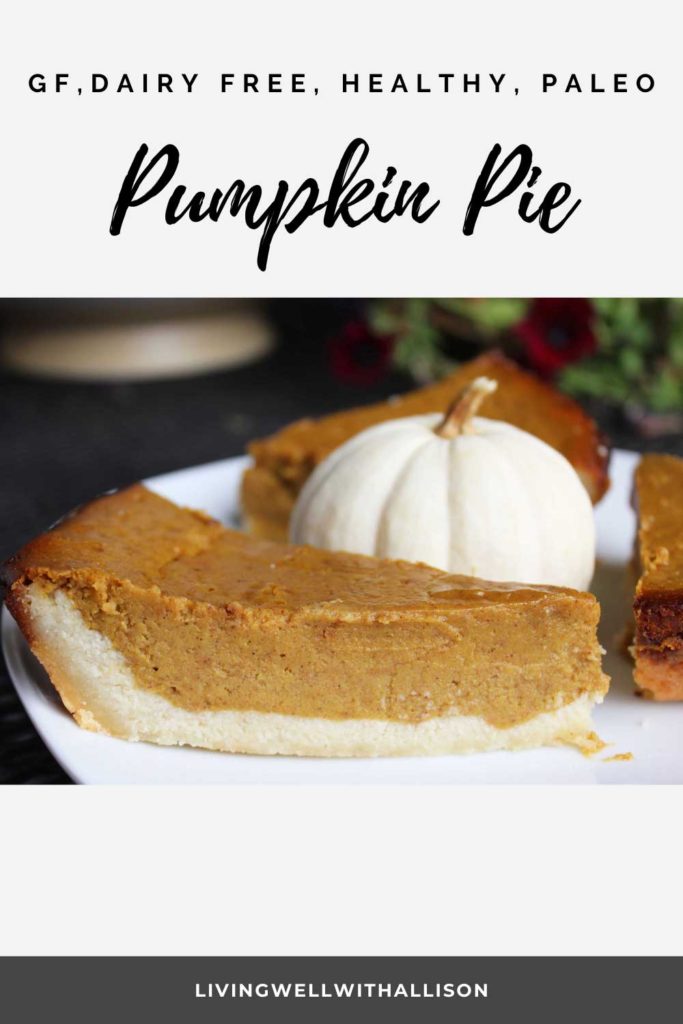
Enjoy my other seasonal recipes like this Pumpkin Pie recipe. I’ve already made it four times this season. (It’s the perfect gift).

Healthy Pumpkin Pie
apple chai oat muffins pin
Print Recipe
Apple Chai Oat Muffins
A chai spiced, flavorful, moist muffin with apple chunks to enjoy in the morning with a cup o' joe or take to work and eat as a mid day snack.
Apple Chai Oat Muffin
Prep Time 20 minutes
Cook Time 25 minutes
Servings
muffins
Ingredients
Prep Time 20 minutes
Cook Time 25 minutes
Servings
muffins
Ingredients
Apple Chai Oat Muffin
Instructions
  1. Preheat the oven to 425 fahrenheit and spray a muffin tray with coconut oil.
  2. Place almond milk and oats into a glass measuring cup or small bowl. Let sit for 20 minutes. (I would also microwave and melt the coconut oil at this time and then set aside to cool).
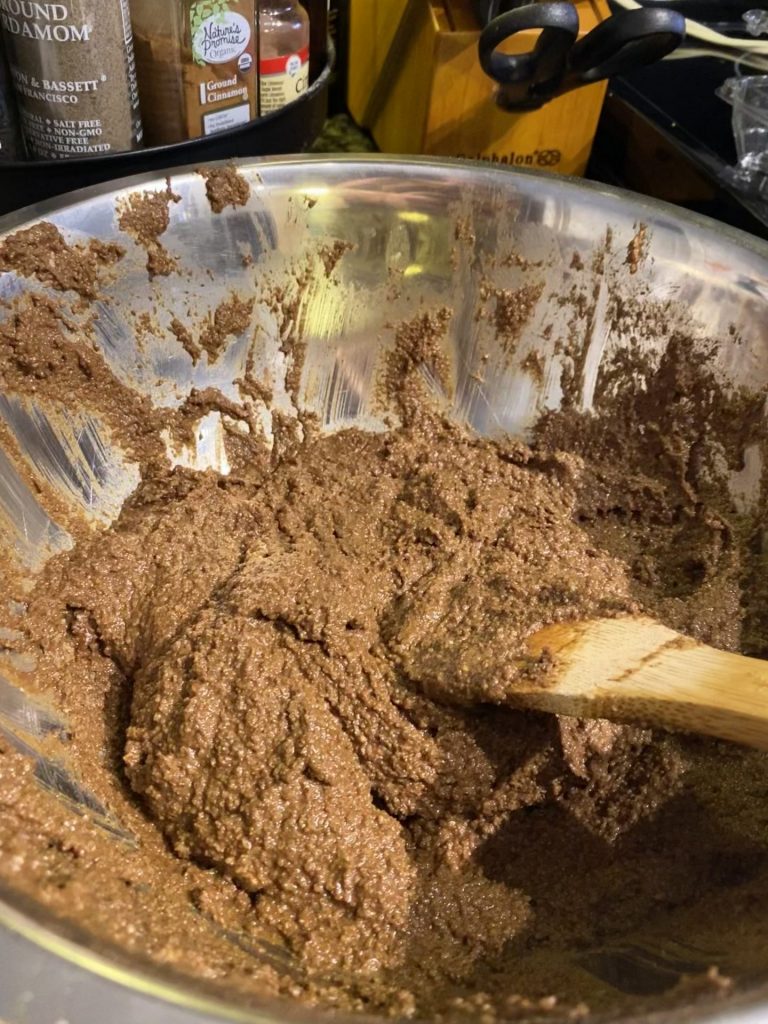
  3. While the oat mixture is soaking, add all dry ingredients (flour, baking powder, baking soda, collagen, cinnamon, cardamom, ginger, allspice, and salt) to a large bowl. Mix together.
  4. Add in the wet ingredients to a smaller bowl (coconut oil, applesauce, honey, egg, vanilla extract). Whisk well.
  5. Pour the wet ingredients into the dry and stir just until combined. (Do not overmix). Add the the chopped apple and pecans or walnuts. Stir again just a few times until evenly mixed.
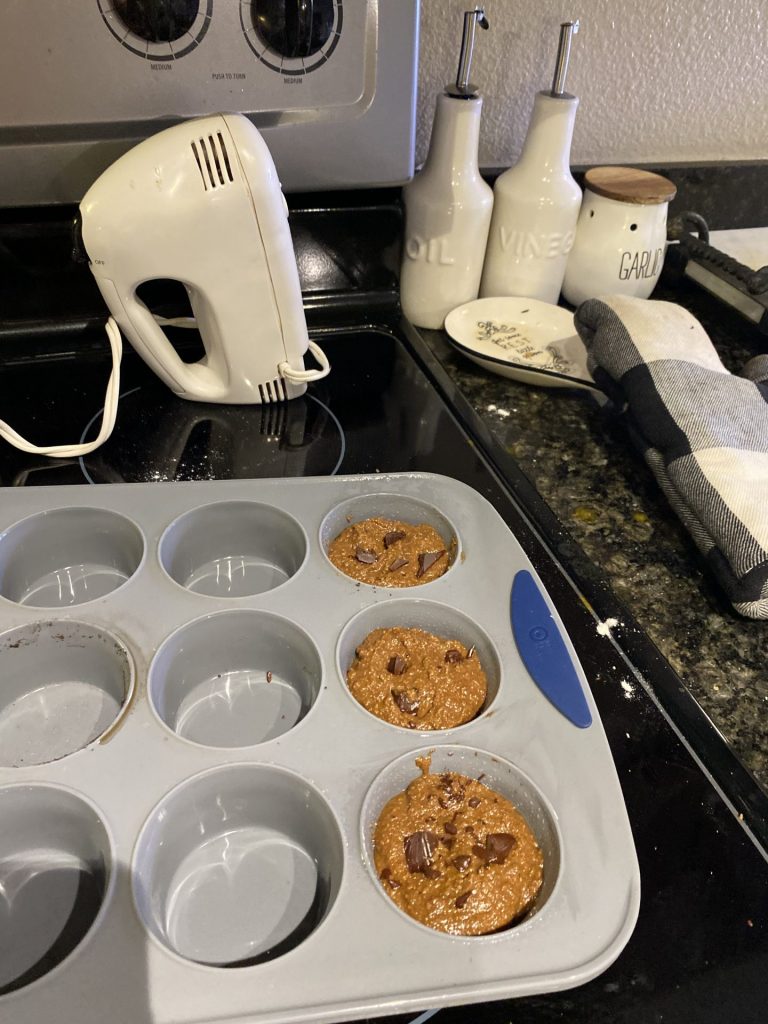
  6. Fill each muffin tin 3/4 full. Place in the oven and bake at 425 farenheit for 5 minutes, then leaving the muffins in the oven reduce heat to 350 farenheit and cook for an additional 20 minutes.
  7. Allow to cool at room temp, remove from muffin tins. Enjoy at room temperature for up to one day or store in the fridge for up to 5 days. Place a papertowl on the top and bottom of the muffins when storing to retain moisture. If too dry, put in microwave on 30 second intervals to re-heat.
Recipe Notes

Substitute 1:1 for gluten free baking powder if desired. 

Melt the coconut oil in a microwave on 15 second intervals until just melted, cool in the fridge or prepare early and let cool at room temp.

Simple & Healthy Pumpkin Pie

Healthy Pumpkin Pie

You can never have too many pumpkin recipes, right? Every year I make a version of this paleo pumpkin pie and I swear it just gets better and better. Maybe my baking skills improved over time or maybe I just got lucky this year, but OH DAMN this one is good. 

I’m happy to finally have an “official” recipe for it because each year I’m trying to figure out what I did the prior year. You’d think I’d have it written down somewhere or pinned on Pinterest from a previous blogger, but no. I just could NOT find it this year. 

With a little bit of memory and bits and pieces of other recipes I’ve made in the past I came up with this SIMPLE HEALTHIER PALEO PUMPKIN PIE.

NEWSLETTER SUBSCRIPTION

This recipe is great because it’s gluten free, dairy free, and refined sugar free (if you omit sugar or use coconut sugar for the crust). The pumpkin spice POPS, the crust is still full of flavor, and the texture is nice and creamy. I love that it’s sweetened with honey too. 

Ya just can’t get any better than that. 

I must mention that it’s also an easy clean up using just ONE piece of equipment: a food processor. This one here is my FAVORITE – I use it weekly. You can also try to mix by yourself, but I find a food processor is your best bet to make it the right consistency. A high speed blender such as a ninja or vitamix will also work.

Place all crust ingredients in the food processor, blend.

Put that in the pie pan. Press down.

Healthy paleo pumpkin pie crust.

Rinse food processor.

Place all filling ingredients into the food processor, blend.

Healthy paleo pumpkin pie food processor

Pour into the pie pan.

Take the dish and tap it directly down on the counter to remove any bubbles formed from the processor.

Healthy paleo pumpkin pie

Bake.

Remove after 40 minutes, add pie crust shield to prevent the edges from burning OR cut foil and wrap around the edges of the pie pan. Bake for another 20 -25 minutes or until the pie crust is set.

Healthy paleo pumpkin pie

That quick, that simple, that’s it.

Be careful not to place directly in the fridge after baking. Make sure the pie is completely cooled down to room temp first.

If the pie is cooled too quickly then it will crack and separate and you will no longer have a pretty looking pumpkin pie to take over to the friendsgiving. 

Healthy paleo pumpkin pie

It’s a simple step – but a very important one if you want a good looking and healthier twist to a pumpkin pie to show off to all your friends.

Lastly, this pie is delish by itself, but if you want to kick it up a notch then buy some coconut whipped cream to top it off! 

If you want the same yummy pumpkin spice flavor that I used for this recipe then check out my Homemade Pumpkin Spice.  You might also like my Paleo Pumpkin Muffins for a breakfast treat. Pumpkin muffin for breakfast and pumpkin pie before bed? Yup. I’m all about it.

Healthy paleo pumpkin pie
Print Recipe
Healthier Pumpkin Pie
Simple and healthy gluten free, dairy free, and refined sugar free pumpkin pie with limited ingredients. The pumpkin spice POPS, the crust is still full of flavor, and the texture is nice and creamy. Cut a slice and enjoy with a dollop of coconut whipped cream.
Healthy Pumpkin Pie
Course Dessert
Prep Time 15 minutes
Cook Time 1 hour
Servings
slices
Ingredients
Crust
Filling
Course Dessert
Prep Time 15 minutes
Cook Time 1 hour
Servings
slices
Ingredients
Crust
Filling
Healthy Pumpkin Pie
Instructions
  1. Preheat the oven to 350 degrees F.
  2. Place all crust ingredients (almond flour, egg, coconut oil, and sugar) in a food processor or high speed blender. Mix well.
  3. Once the crust starts to form into small balls, then remove the mixture from the food processor and place inside the pie dish. Press the crust down evenly in the pan with a flat object. (I used the bottom of a measuring cup).
  4. Rinse out the food processor or high speed blender and add in all the pie ingredients (pumpkin puree, coconut milk, honey, eggs, pumpkin pie spice, and vanilla extract). Blend until smooth.
  5. Pour the filling into the pie pan. No need to bake the crust first.
  6. Place in the oven and bake for 40 minutes, remove and add a pie crust shield or cut foil to cover the crust. Bake for another 20 minutes, or until the center is set.
  7. Let cool at room temperature to prevent separation and cracking, then place in the fridge to firm up.
  8. Enjoy with some coconut whipped cream or by itself. Have fun sharing with friends and family over the holiday season!
Recipe Notes

Don't forget to use my Pumpkin Pie Spice for that added Y U M flavor to this pie!

Homemade Pumpkin Pie Spice

Daisy my dog and pumpkin spice recipe.

Looking to add a little pumpkin pie spice to your dish? Look no further! This super simple homemade recipe will be perfect for pumpkin pie, pumpkin muffins, pumpkin cookies, pumpkin bars, pumpkin spiced lattes, pumpkin spiced body scrub AND MORE.

Check out these cute spice jars, especially if you enjoy making your own combination of spices!

pumpkin spice

If you are like me and run out of store bought pumpkin pie spice like crazy, then this recipe might come in handy. Lately I’ve been making it myself and the flavor is just oh so much better.

I also like to add at least a tablespoon to my recipes (most call for less) because I love when that flavor POPS.

pumpkin spice

Feel free to try this out with my Double Chocolate Pumpkin Muffins or my Paleo Pumpkin Muffins.

Pumpkin pie spice is so versatile, you could even add it to the top of your morning cup oh’ jo. The possibilities are endless.

Now go get yourself ready for fall and bust out your baking skills with this simple pumpkin pie spice recipe!

Print Recipe
Homemade Pumpkin Pie Spice
Looking to add a little pumpkin pie spice to your dish? Look no further! This super simple homemade recipe will be perfect for pumpkin pie, pumpkin muffins, pumpkin cookies, pumpkin bars, pumpkin spiced lattes, etc.
Daisy my dog and pumpkin spice recipe.
Course Baked Goods
Servings
tablespoon
Ingredients
Course Baked Goods
Servings
tablespoon
Ingredients
Daisy my dog and pumpkin spice recipe.
Instructions
  1. Add all ingredients to a small bowl.
  2. Mix well and enjoy!

Paleo Pumpkin Muffins

Paleo pumpkin muffins

Get ready for fall and enjoy these simple, healthy, dairy free, gluten free, moist, paleo pumpkin chocolate chip muffins made with almond flour and honey!

First, start by mixing your dry ingredients in a large bowl. Stir together the super fine almond flour, baking soda, salt, and pumpkin pie spice. Check out this easy recipe for DIY pumpkin pie spice, or feel free to use the store bought blend.

Paleo Pumpkin Muffins

Then, make a well by pushing all the dry ingredients to the side of your bowl. Add the wet ingredients into the center. Eggs, pumpkin puree, vanilla, and honey. Whisk it, then pull in the dry ingredients to combine.

Paleo Pumpkin Muffins

Add in the chocolate chips, but be sure you don’t over mix!! This releases the oils in the almond flour and results in a dense muffin.

Paleo Pumpkin Muffins

Place in your prepared pan and bake for 20-25 minutes at 350 degrees F. Keep in mind that the dough will not be very wet, but they will still turn out moist- trust me!

I LOVE my silicone muffin tin. Its so easy to clean and I’m not spending hours scrubbing all the black spots off my muffin tin. Check out this one here if you want to make your life more simple too!

Paleo Pumpkin Muffins

They may look crumbly on top because of the almond flour, but they are very moist inside from the pumpkin and honey.

Almond flour also tends to burn at high heat so be careful and keep an eye on the muffins within the 20-25 minutes. Typically, you want to see the edges start to turn a golden brown color.

Paleo Pumpkin Muffins

Have fun making these Paleo Pumpkin Muffins for your friends and family- I’ve given many away already and they are a big hit! Most people don’t even realize that it’s made with

healthy wholesome ingredients.

Please don’t forget to sign up to be the first to know about more awesome recipes like this one!

NEWSLETTER SUBSCRIPTION

Also check out my other post on Double Chocolate Pumpkin Muffins if you are feelin’ chocolatey or else my Pumpkin Quinoa Oat Bread for a healthy bread to munch on throughout the day while sipping your earl grey tea (guilty!).

Print Recipe
Paleo Pumpkin Muffins
Enjoy these simple, healthy, dairy free, gluten free, moist, paleo pumpkin chocolate chip muffins made with almond flour and honey!
Paleo pumpkin muffins
Prep Time 10 minutes
Cook Time 25 minutes
Servings
muffins
Ingredients
Prep Time 10 minutes
Cook Time 25 minutes
Servings
muffins
Ingredients
Paleo pumpkin muffins
Instructions
  1. Preheat oven to 350 degrees F and spray muffin tin with coconut oil spray.
  2. Place all dry ingredients into a large bowl. (Almond flour, baking soda, salt, pumpkin pie spice). Mix until well incorporated.
  3. Make a well (push all dry ingredients to the side of the bowl) and add in the wet ingredients (eggs, pumpkin puree, vanilla, honey). Whisk just until combined, then stir in the dry.
  4. Stir in the chocolate chips. Do NOT over mix. This will result in dense muffins due to the oil content of the almond flour.
  5. Pour into prepared muffin tins and fill until 3/4 full. Bake for 20-25 minutes or until the top is a nice golden brown.
Recipe Notes

BTW, these chocolate chips are my favorite and they are dairy free!

Double Chocolate Pumpkin Muffins

Gluten free, dairy free, refined sugar free and chocolatey pumpkin muffins with hints of pumpkin spice to help your belly prepare for the fall season.

double chocolate pumpkin muffins

These pumpkin muffins are a mix between a brownie and a muffin with a little bit of coconuty flavor to pull it all together. Moist, but surprisingly still light. The real chocolate chunks (or chips) also makes it pretty darn yummy. (Hellloooo chocolate fans!)

All made with wholesome ingredients, you don’t have to feel guilty eating one… or two… OKAY, maybe I just had two while writing this post. I couldn’t help it!

Be sure to start with a super-fine almond flour like this one. They type of almond flour used can dramatically affect the outcome of the muffins as some have different weights and more fiber. The super-fine almond flour from Costco is also a great option – it’s what I use!

First, pull together all the dry ingredients and mix with a wooden spoon. Next, make a well with the dry ingredients (or push the dry ingredients to the sides of the bowl). Pour the wet ingredients into the center.

double chocolate pumpkin muffin

Blend together the wet ingredients, then mix it all together with the dry. Be careful not to over mix though!! Over mixing almond flour can release the oils. This will result in muffins that are more dense, wet and oily.

NEWSLETTER SUBSCRIPTION

Bake until you see the tops start to form and create creases. Also try placing a toothpick into the middle. The muffins will be done if there are just a few crumbs left on the toothpick. Allow to cool, then store in the fridge for 5-7 days.

I hope you enjoy! It took me a few times of trial and error to make a good almond flour muffin recipe, but it was so worth it.

Now we have pumpkin muffins eat to for dayysss, did I mention they can easily be placed in the freezer and heated back up in the microwave whenever you want? Yup. That way you’ll always have a morning muffin on hand (especially when you’re running out the door in the mornings like me lately!)

Also, if you want more tips on getting good sleep so that way you can have more energy to make good healthy recipes like this then check out my post on Natural Ways to Sleep Better.

double chocolate pumpkin muffin
double chocolate pumpkin muffins
Print Recipe
Double Chocolate Pumpkin Muffins
Gluten free, dairy free, and chocolatey with hints of pumpkin spice. These muffins are guaranteed to put you in the best mood for fall!
Prep Time 15 minutes
Cook Time 25 minutes
Servings
muffins
Ingredients
Prep Time 15 minutes
Cook Time 25 minutes
Servings
muffins
Ingredients
Instructions
  1. Preheat oven to 375 degrees F and prepare muffin tin with paper or spray with coconut oil spray.
  2. Add all dry ingredients to a large mixing bowl (almond flour, coconut flour, cocoa powder, coconut sugar, baking soda, baking powder, salt, and pumpkin pie spice). Mix well.
  3. Make a well or a hole in the bowl of the dry ingredients. Add in the wet ingredients (pumpkin puree, vanilla extract, maple syrup, almond milk, coconut oil, and eggs). Whisk together just the wet ingredients.
  4. Pour in the chocolate chips. Then, trying not to over mix, blend together both the wet and dry ingredients.
  5. After mixing (about 10 stir, or until just combined), then fill each muffin tin 3/4 or to top.
  6. Bake for 22-28 minutes or until the tops are cracked and no longer appear wet. You may also test the moisture by placing in a toothpick.
  7. After removing from the oven, let the muffins cool in the muffin pan. Once cool, place in an airtight container and refrigerate until ready to eat.

Avocado Key Lime Pie

This is a low carb, gluten free, dairy free, whole food alternative to a key lime pie with a healthy chocolate crust to pull it all together. 

avocado key lime pie, lime, key lime, pie

Avocado, lime, honey, and coconut oil are the only ingredients you need to make a healthy key lime pie. The crust is also highly recommended- certainly one of my favorite parts. (Maybe because I’m a chocoholic – I can’t help it!). The crust includes almond flour, maple syrup, coconut oil, and cocoa powder. All wholesome and nutrient rich ingredients hidden in a mouth watering dessert. 

avocado key lime pie, lime, key lime, pie, crust
#1 Mix the crust ingredients
avocado key lime pie, lime, key lime, pie, crust
#2 Press into pan

This tart is quick to make and simple clean up. All you’ll need is a food processor or a high speed blender, a spatula, and a springform or tart pan. 

avocado key lime pie, lime, key lime, pie, filling
#3 Blend the filling
avocado key lime pie, lime, key lime, pie
#4 Add the filling and freeze!

It’s also an easy thing to whip up before having guests over. Just pop it out of the freezer and allow it to soften slightly for 15-30 minutes before serving. I like to do this while eating dinner, that way when I finish – dessert is ready in a jiffy!

This yummy treat can be stored in the freezer for months which means you’ll always have dessert on hand. Because who doesn’t want a healthy option that also tastes incredible? 

Personally, I’m kind of obsessed with my healthy desserts and I always need something around to nibble on.

Sign up for my newsletter so you don’t miss out on any yummy healthy eats! I’ll also be sending out recent articles on healthy living aaaand if you sign up now you’ll receive a free PDF on tracking habits and reaching your health goals!

NEWSLETTER SUBSCRIPTION

free guide

Please don’t forget to leave a comment and let me know how you like it!

Print Recipe
Avocado Key Lime Pie
A low carb, gluten free, dairy free, whole food alternative to a key lime pie with a healthy chocolate crust to pull it all together.
Course Dessert
Prep Time 20 minutes
Passive Time 2 hours
Servings
people
Ingredients
Filling
Course Dessert
Prep Time 20 minutes
Passive Time 2 hours
Servings
people
Ingredients
Filling
Instructions
  1. Combine all crust ingredients (maple syrup, almond flour, cocoa powder, coconut oil) into a food processor or high speed blender and blend until completely combined.
  2. Prepare a tart pan or springform pan with parchment paper. Place crust ingredients in the pan, then using your hands press it down firmly. Put in the freezer while preparing the filling.
  3. Rinse out the food processor or high speed blender and combine all filling ingredients (avocados, lime juice, canned coconut milk, honey, lime zest). Blend until smooth.
  4. Remove the crust from the freezer and pour in the filling. Place back into the freezer and allow to set for a minimum of two hours or overnight if needed.
  5. Prior to serving remove the pie from the freezer 15-20 minutes beforehand to allow the slice to soften. Store in the freezer. At this time I like to cut the whole tart into slices to allow easy access to grab a piece out whenever I want one throughout the week!
Recipe Notes

Tips:

  1. For a more crumbly crust (and less sugar) I recommend using 1/4 cup maple syrup instead of 1/3 cup.
  2. Make sure your avocados are ripe! This will guarantee the most creamy texture for your filling. Also buy full fat coconut as it will also contribute to the full texture.
  3. Feel free to store in the freezer for a couple months and take out to enjoy whenever you like!

Almond Flour Flatbread

This flatbread is a low-carb, gluten-free alternative to pita bread or even a substitute as a hamburger/ sandwich bread. Quick, easy to cook up in a matter of minutes.

Similar to cooking pancakes- but with minimal ingredients!

I’ve already made this several times this summer. Twice for various hummus recipes and a third time as a hamburger “bun”. I love the flavor and texture to it. It looks like a pancake, but tastes like a pita bread and can be morphed into any kind of flavor with the addition of preferred spices!

Print Recipe
Almond Flour Flatbread
A simple 3 ingredient almond flour flatbread to make for hummus or as a "bread" for a low-carb alternative!
Course Side Dish
Servings
small pieces
Ingredients
Course Side Dish
Servings
small pieces
Ingredients
Instructions
  1. In a large bowl mix together all of the ingredients. It should be the consistency of pancake batter, thick and loose. If the batter is too thick, add single tablespoons of full-fat coconut milk to thin it out. If it is too thin/loose, add single tablespoons of almond flour AND arrowroot flour to thicken it (meaning, if you add a tablespoon of almond flour, also add a tablespoon of arrowroot).
  2. Set a nonstick skillet on medium-high heat, once hot, lightly spray with a little olive oil then pour in about 1/3 cup of the batter in the middle of the skillet. Allow the flatbread to cook and become firm, about 3 minutes, or until the outer edges turn slightly brown but NOT crispy. If it’s crispy then you either have too much oil in the skillet and/or the heat is too high. Flip it using a spatula and cook for an additional 2 to 3 minutes until the top and bottom are golden brown. Repeat for each piece.
  3. Set the flatbread on a cooling rack to cool and become more firm. For meal prep, allow these to completely cool, then wrap them individually in nonstick foil or plastic wrap for storage in the fridge. They should last about 6 to 7 days in the fridge.
  4. Enjoy with your favorite topping!
Recipe Notes

*I use a wide array of spices like oregano, garlic powder, etc. *Pairs well with hummus or as a burger patty bun once cooled

Banana Oat Cookies

This morning I sat down to work on my website and nail out my e-course (which is taking quite a long time, but I want it to be PERFECT!). I’m a perfectionist, so that doesn’t help much either…. Well, while I was sitting here I saw my mom had three super ripe bananas. Shortly after these cookies were born.

I was thinking about making these with chocolate chips, but decided on blueberries and walnuts instead because I couldn’t find any dark chocolate chips. So sad. I did, however, find some chocolate protein powder that I added into 1/3 of the batter to see how it turned out and was pleasantly surprised at how good they were. Maybe I’ll make another post on those later.

Print Recipe
Banana Oat Cookies
Three ingredient, super easy, and healthy cookies to make when you have some ripe bananas lying around.
Prep Time 5
Cook Time 15
Servings
cookies
Ingredients
Prep Time 5
Cook Time 15
Servings
cookies
Ingredients
Instructions
  1. Preheat the oven to 350F. In a medium sized bowl mash the two ripe bananas with a fork.
  2. In that same bowl add in the peanut butter and rolled oats. Mix together.
  3. Add in optional ingredients: blueberries and walnuts or chocolate chips
  4. Place on baking sheet with parchment paper and press down slightly. (I made 11 cookies because I wanted them to be bigger).
  5. Bake for 15 minutes, remove and let cool before eating.

Roasted Chicken with Peach-Basil Glaze

The peach glaze on this chicken is SO delicious and peaches are in season so I needed to make something good 🙂

When the chicken first came out of the oven I couldn’t help but devour a large amount of it (no plate needed). Hence the photo still being on the roasting pan haha!

It took a bit of time to make, but if you plan ahead and brine a day before it really doesn’t take long to food process up the glaze and simmer it down. The most tedious part was glazing throughout the roasting time, but since I had nothing else to do but be in the kitchen it wasn’t too awful.

Print Recipe
Roasted Whole Peach Chicken
This is the perfect summer recipe for a delicious whole chicken. It can even be roasted on the grill! 🙂
Course Main Dish
Prep Time 1.5 hours
Cook Time 1 hour
Passive Time 24 hours
Servings
Ingredients
Roasted Chicken
Peach-Basil Glaze
Course Main Dish
Prep Time 1.5 hours
Cook Time 1 hour
Passive Time 24 hours
Servings
Ingredients
Roasted Chicken
Peach-Basil Glaze
Instructions
  1. In a small saucepan bring 1 quart or 4 cups of water and the salt to a boil, stirring until mixed. Remove from heat when dissolved and cool. (I placed in the freezer for a bit to speed up the process)
  2. Once cooled, place the chicken in a poultry or roasting bag with the salt water. Tie the bag and allow to marinate for 4-24 hours. (I marinated overnight!)
  3. For the glaze, place the peaches, basil, soy sauce, honey, and vinegar into a food processor or blender and blend until smooth.
  4. Pour half the mixture into a saucepan and bring to boil over medium heat. Reduce to low and add in the sugar. Simmer until thickened (about 15 minutes). Set aside.
  5. Remove chicken from the brine, rinse and pat dry with paper towels. Rub with half of the NON-SUGARED glaze you saved and allow to marinate for an additional hour or longer in a plastic bag (I used the same roasting bag).
  6. Preheat the oven to 450F. Place the chicken on a roasting pan with foil and use a basting brush to add on the SUGARED-GLAZE. After 15 minutes decrease the temperature to 350F and brush on more glaze.
  7. Cook an additional 20 minutes for each pound of chicken after the first 15 minutes and during each 20 minutes increment continue to glaze the chicken until finished cooking and internal temperature is 165F. (Mine took about 1 hour and 15 minutes)
Recipe Notes

By starting the temperature at 450F for the first 15 minutes, you are allowing the chicken to become a bit more "crispy" on the outside while staying nice and moist on the inside!

Ground Turkey Spaghetti

This is our go-to spaghetti dish. I love the combination of zucchini and a delicious brown rice pasta! I even throw in some spinach if I have any lying around. It completely masks the taste.

Print Recipe
Ground Turkey Spaghetti
Course Main Dish
Servings
Ingredients
Course Main Dish
Servings
Ingredients
Instructions
  1. Prep the veggies, cook the meat in one pan and the veggies in another, heat up the sauce in a third saucepan.
  2. Cook up the pasta as directed.
  3. Add in the cooked veggies and meat to the sauce when done. Stir in handfuls of spinach if desired.
  4. Pair with a salad and a drizzle of balsamic vinegar.