Double Chocolate Pumpkin Muffins

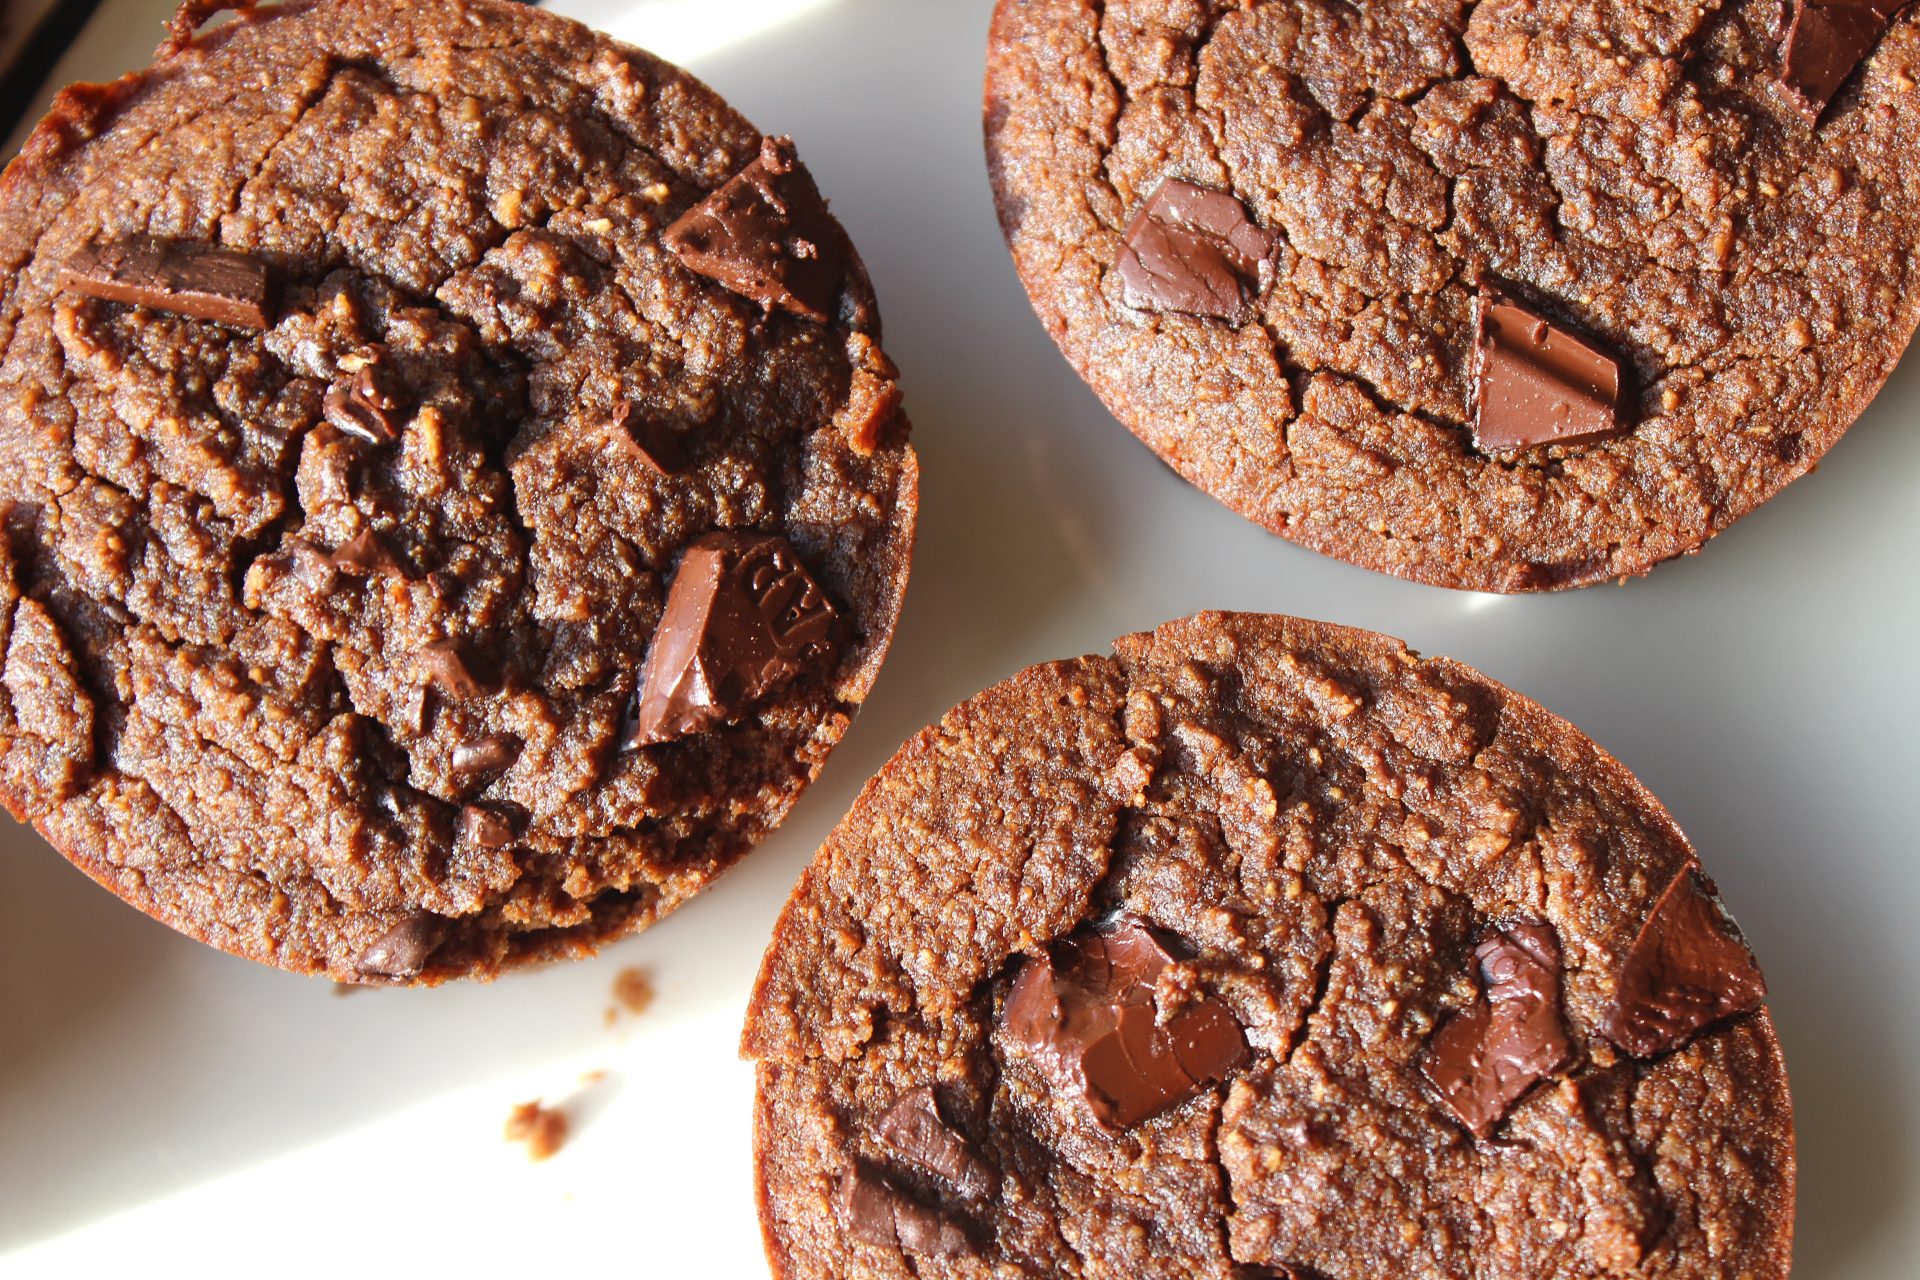
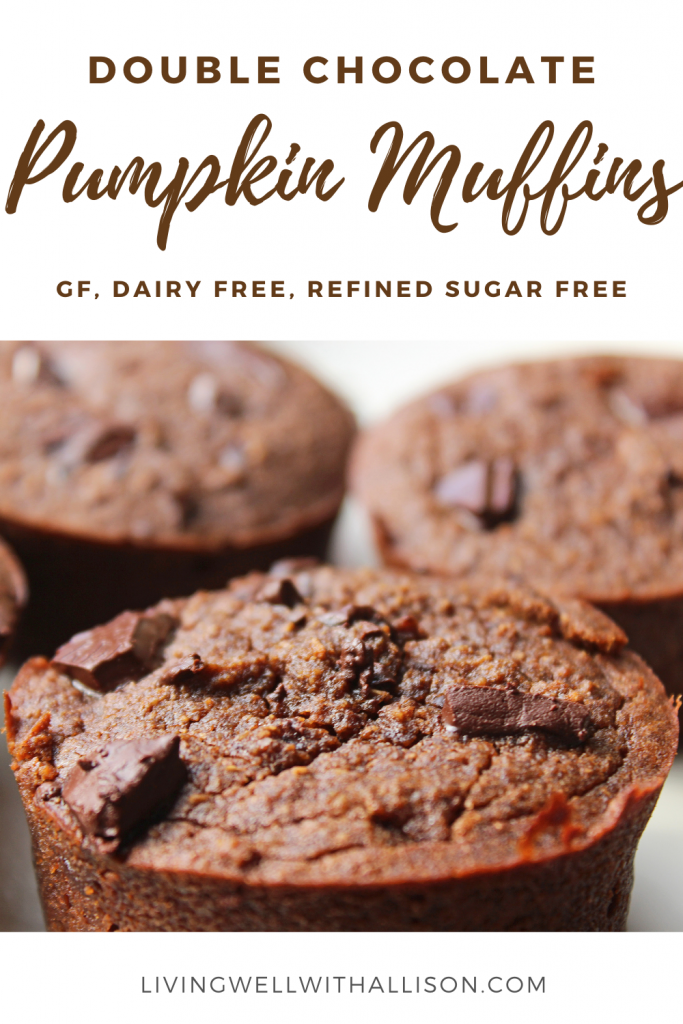
Gluten free, dairy free, refined sugar free and chocolatey pumpkin muffins with hints of pumpkin spice to help your belly prepare for the fall season.

double chocolate pumpkin muffins

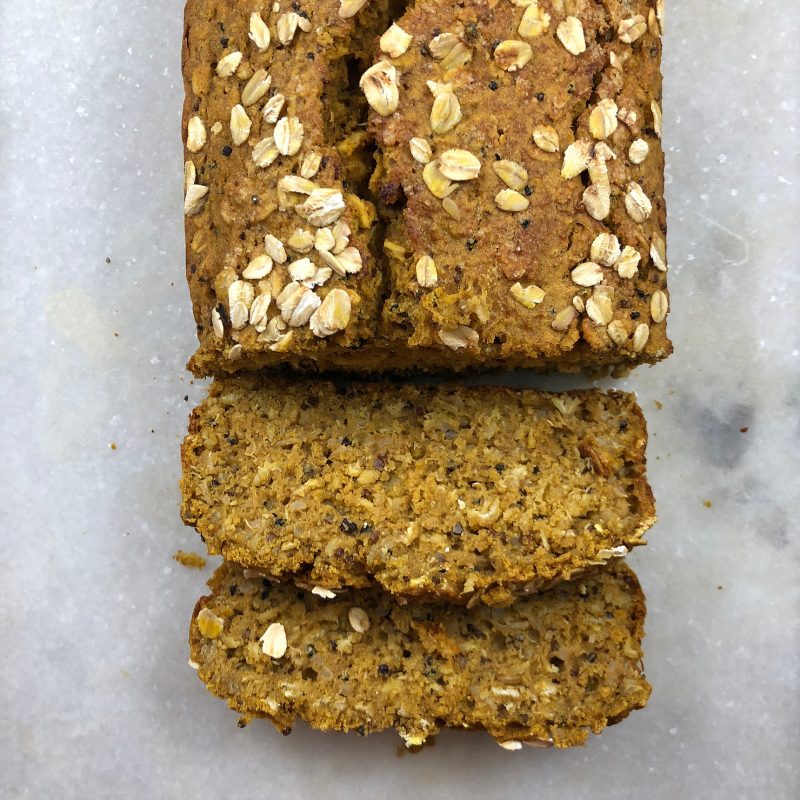
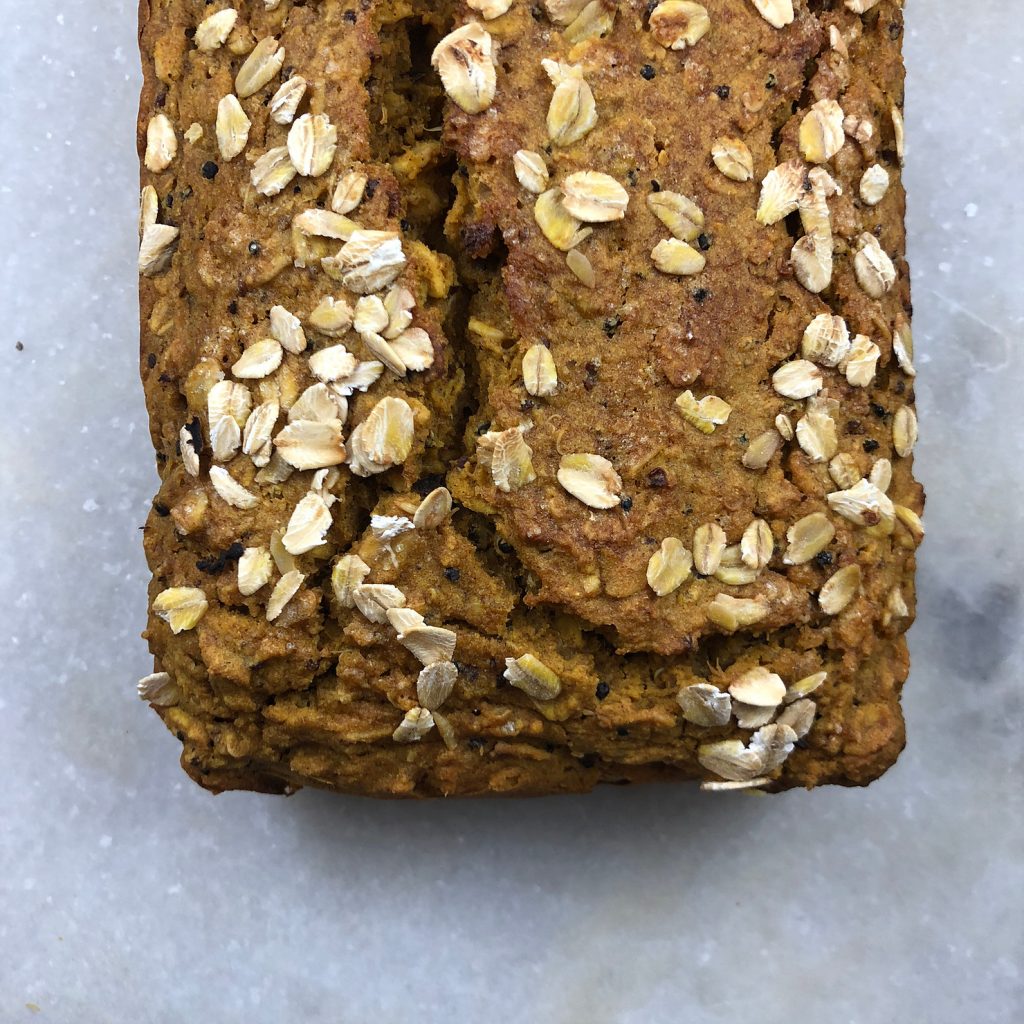
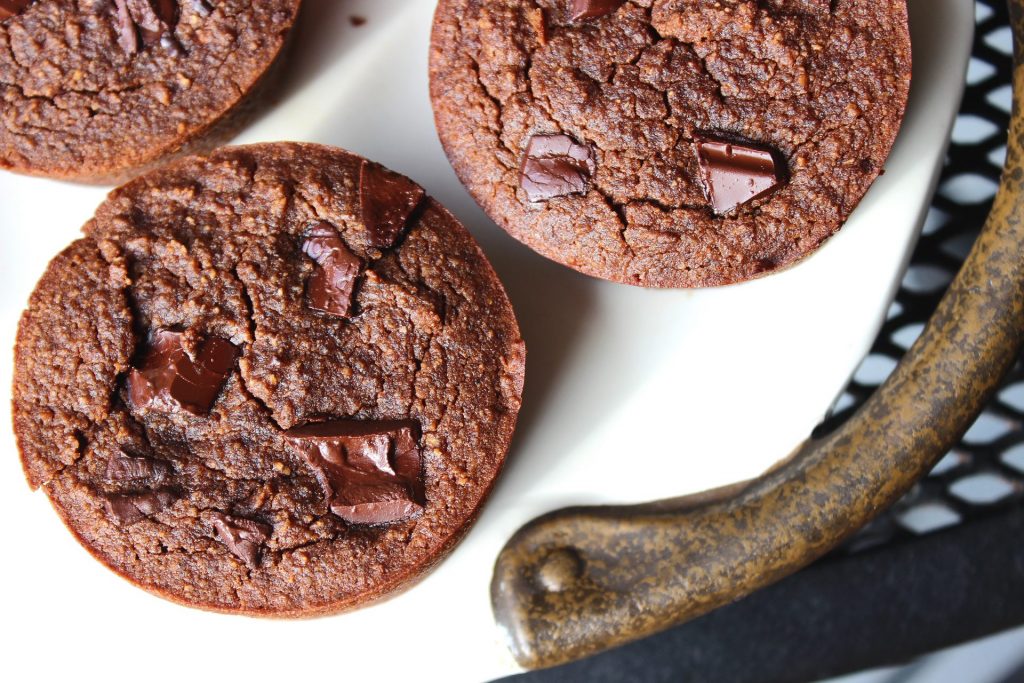
These pumpkin muffins are a mix between a brownie and a muffin with a little bit of coconuty flavor to pull it all together. Moist, but surprisingly still light. The real chocolate chunks (or chips) also makes it pretty darn yummy. (Hellloooo chocolate fans!)

All made with wholesome ingredients, you don’t have to feel guilty eating one… or two… OKAY, maybe I just had two while writing this post. I couldn’t help it!

Be sure to start with a super-fine almond flour like this one. They type of almond flour used can dramatically affect the outcome of the muffins as some have different weights and more fiber. The super-fine almond flour from Costco is also a great option – it’s what I use!

First, pull together all the dry ingredients and mix with a wooden spoon. Next, make a well with the dry ingredients (or push the dry ingredients to the sides of the bowl). Pour the wet ingredients into the center.

double chocolate pumpkin muffin

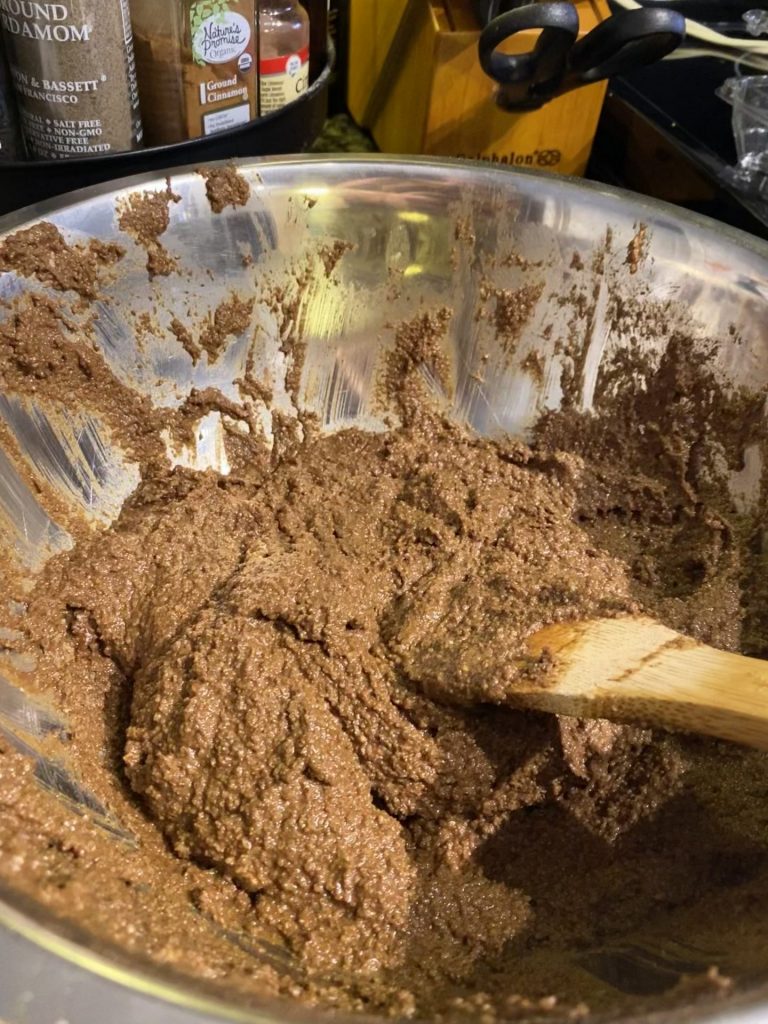
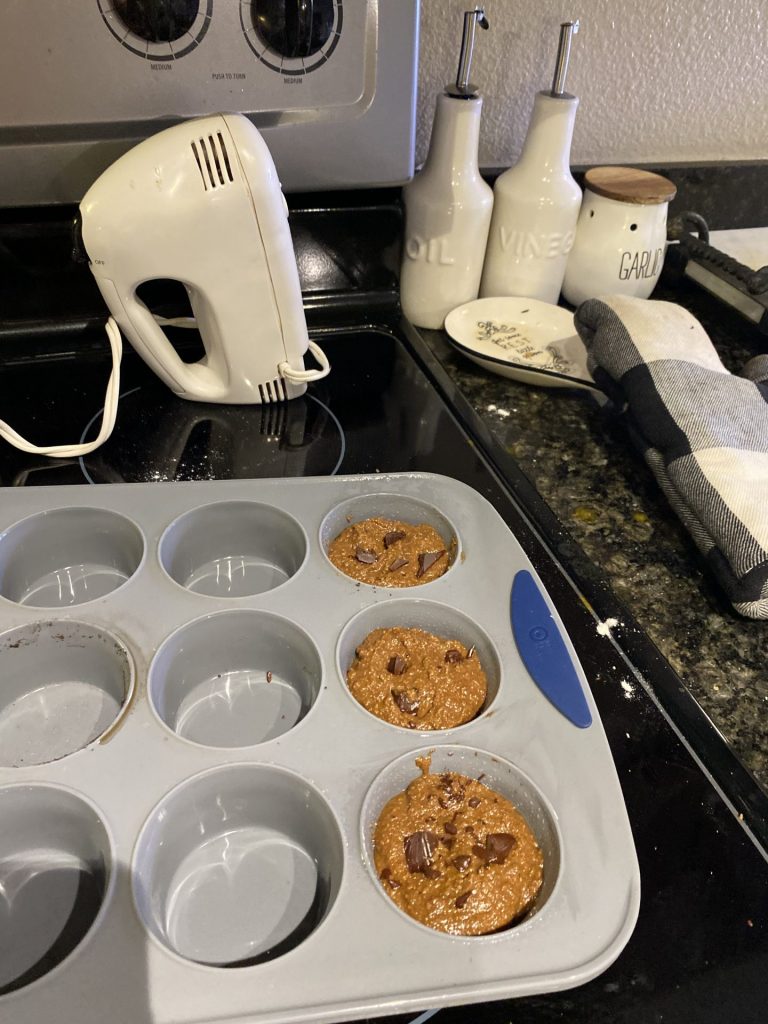
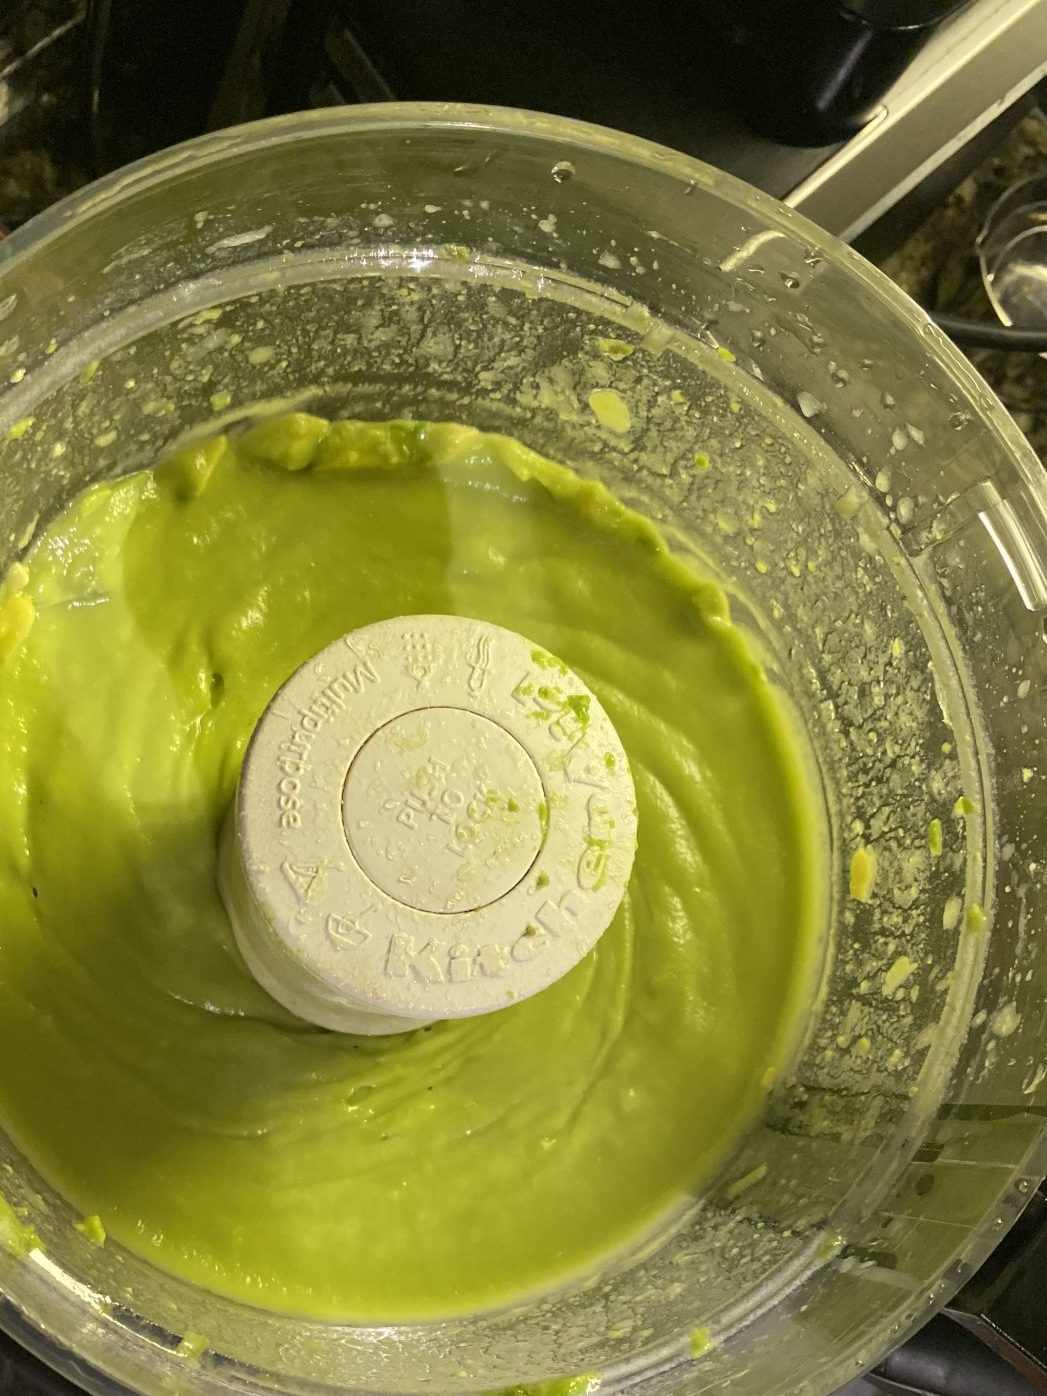
Blend together the wet ingredients, then mix it all together with the dry. Be careful not to over mix though!! Over mixing almond flour can release the oils. This will result in muffins that are more dense, wet and oily.

NEWSLETTER SUBSCRIPTION

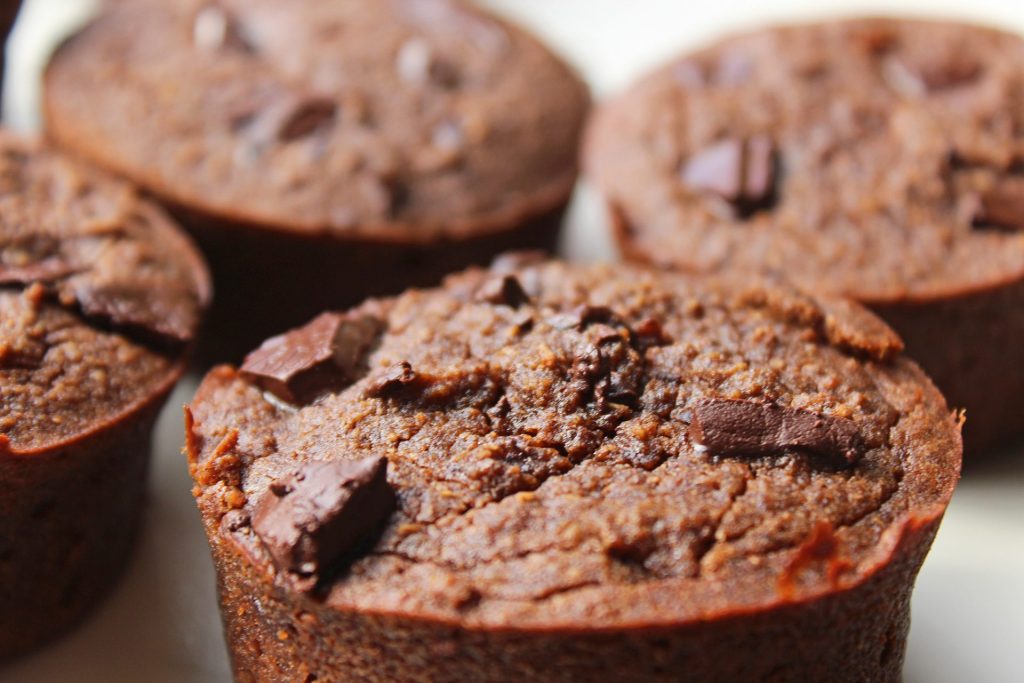
Bake until you see the tops start to form and create creases. Also try placing a toothpick into the middle. The muffins will be done if there are just a few crumbs left on the toothpick. Allow to cool, then store in the fridge for 5-7 days.

I hope you enjoy! It took me a few times of trial and error to make a good almond flour muffin recipe, but it was so worth it.

Now we have pumpkin muffins eat to for dayysss, did I mention they can easily be placed in the freezer and heated back up in the microwave whenever you want? Yup. That way you’ll always have a morning muffin on hand (especially when you’re running out the door in the mornings like me lately!)

Also, if you want more tips on getting good sleep so that way you can have more energy to make good healthy recipes like this then check out my post on Natural Ways to Sleep Better.

double chocolate pumpkin muffin
double chocolate pumpkin muffins
Print Recipe
Double Chocolate Pumpkin Muffins
Gluten free, dairy free, and chocolatey with hints of pumpkin spice. These muffins are guaranteed to put you in the best mood for fall!
Prep Time 15 minutes
Cook Time 25 minutes
Servings
muffins
Ingredients
Prep Time 15 minutes
Cook Time 25 minutes
Servings
muffins
Ingredients
Instructions
  1. Preheat oven to 375 degrees F and prepare muffin tin with paper or spray with coconut oil spray.
  2. Add all dry ingredients to a large mixing bowl (almond flour, coconut flour, cocoa powder, coconut sugar, baking soda, baking powder, salt, and pumpkin pie spice). Mix well.
  3. Make a well or a hole in the bowl of the dry ingredients. Add in the wet ingredients (pumpkin puree, vanilla extract, maple syrup, almond milk, coconut oil, and eggs). Whisk together just the wet ingredients.
  4. Pour in the chocolate chips. Then, trying not to over mix, blend together both the wet and dry ingredients.
  5. After mixing (about 10 stir, or until just combined), then fill each muffin tin 3/4 or to top.
  6. Bake for 22-28 minutes or until the tops are cracked and no longer appear wet. You may also test the moisture by placing in a toothpick.
  7. After removing from the oven, let the muffins cool in the muffin pan. Once cool, place in an airtight container and refrigerate until ready to eat.

Avocado Key Lime Pie

This is a low carb, gluten free, dairy free, whole food alternative to a key lime pie with a healthy chocolate crust to pull it all together. 

avocado key lime pie, lime, key lime, pie

Avocado, lime, honey, and coconut oil are the only ingredients you need to make a healthy key lime pie. The crust is also highly recommended- certainly one of my favorite parts. (Maybe because I’m a chocoholic – I can’t help it!). The crust includes almond flour, maple syrup, coconut oil, and cocoa powder. All wholesome and nutrient rich ingredients hidden in a mouth watering dessert. 

avocado key lime pie, lime, key lime, pie, crust
#1 Mix the crust ingredients
avocado key lime pie, lime, key lime, pie, crust
#2 Press into pan

This tart is quick to make and simple clean up. All you’ll need is a food processor or a high speed blender, a spatula, and a springform or tart pan. 

avocado key lime pie, lime, key lime, pie, filling
#3 Blend the filling
avocado key lime pie, lime, key lime, pie
#4 Add the filling and freeze!

It’s also an easy thing to whip up before having guests over. Just pop it out of the freezer and allow it to soften slightly for 15-30 minutes before serving. I like to do this while eating dinner, that way when I finish – dessert is ready in a jiffy!

This yummy treat can be stored in the freezer for months which means you’ll always have dessert on hand. Because who doesn’t want a healthy option that also tastes incredible? 

Personally, I’m kind of obsessed with my healthy desserts and I always need something around to nibble on.

Sign up for my newsletter so you don’t miss out on any yummy healthy eats! I’ll also be sending out recent articles on healthy living aaaand if you sign up now you’ll receive a free PDF on tracking habits and reaching your health goals!

NEWSLETTER SUBSCRIPTION

free guide

Please don’t forget to leave a comment and let me know how you like it!

Print Recipe
Avocado Key Lime Pie
A low carb, gluten free, dairy free, whole food alternative to a key lime pie with a healthy chocolate crust to pull it all together.
Course Dessert
Prep Time 20 minutes
Passive Time 2 hours
Servings
people
Ingredients
Filling
Course Dessert
Prep Time 20 minutes
Passive Time 2 hours
Servings
people
Ingredients
Filling
Instructions
  1. Combine all crust ingredients (maple syrup, almond flour, cocoa powder, coconut oil) into a food processor or high speed blender and blend until completely combined.
  2. Prepare a tart pan or springform pan with parchment paper. Place crust ingredients in the pan, then using your hands press it down firmly. Put in the freezer while preparing the filling.
  3. Rinse out the food processor or high speed blender and combine all filling ingredients (avocados, lime juice, canned coconut milk, honey, lime zest). Blend until smooth.
  4. Remove the crust from the freezer and pour in the filling. Place back into the freezer and allow to set for a minimum of two hours or overnight if needed.
  5. Prior to serving remove the pie from the freezer 15-20 minutes beforehand to allow the slice to soften. Store in the freezer. At this time I like to cut the whole tart into slices to allow easy access to grab a piece out whenever I want one throughout the week!
Recipe Notes

Tips:

  1. For a more crumbly crust (and less sugar) I recommend using 1/4 cup maple syrup instead of 1/3 cup.
  2. Make sure your avocados are ripe! This will guarantee the most creamy texture for your filling. Also buy full fat coconut as it will also contribute to the full texture.
  3. Feel free to store in the freezer for a couple months and take out to enjoy whenever you like!

Pumpkin Quinoa Oat Bread

Super moist, yet dense and full of hearty good for you ingredients.

Print Recipe
Pumpkin Quinoa Oat Bread
Servings
Ingredients
Servings
Ingredients
Instructions
  1. Preheat oven to 375°. Grease or place wax paper in a 9" x 5" loaf pan.
  2. In a large bowl, whisk together flour, oats, pumpkin pie spice, baking powder and salt.
  3. In a small bowl, stir together pumpkin puree, coconut oil, almond milk, egg, and maple syrup.
  4. Add cooked quinoa and contents of the small bowl to the large bowl and stir until combined.
  5. Transfer batter to baking dish. Sprinkle coconut sugar and extra oats on top.
  6. Bake for 45 minutes, or until top is golden.

Dark Chocolate Sunflower Butter Bars

Have you ever heard of popped quinoa? Yeah, that’s right p o p p e d. Like popcorn, but quinoa. Well if you haven’t then get ready to have your mind blown with these gluten free, dairy free, nut free, refined sugar free paleo crunchy decadent dark chocolate sunflower butter bars.

These are also my favorite treats to bring to BBQs and parties for sharing. I love surprising people with healthy whole food desserts, especially those involving quinoa, of course.

sunflower butter bars, chocolate, bars, quinoa

Note: may contain affiliate links. I might receive commission at no cost to you if you choose to use my link. Thanks for your support!

They take a bit of prep time, but are in no doubt worth the effort. First, when making the crust I like to mill my own oat flour which can be done three ways:

  1. High speed blender
  2. Food processor
  3. Coffee grinder

I usually use my little coffee grinder because it’s small and is minimal clean up, but they all work well. Just make sure it’s blended to a flour like consistency.

sunflower butter bars, chocolate, bars, quinoa

Once you have the oat flour ready you’ll want to pop your quinoa. My favorite part!!

Heat up a large skillet on the stove top to medium high heat. Wait until its warm, then add the quinoa directly to the pan and listen to it *pop*. This is where you’ll really want to be careful. Make sure to keep a close eye on it and constantly shake the pan for 1-3 minutes depending on how hot your stove top is or until the quinoa turns golden brown in color.

Also be sure to start with just enough quinoa to cover the bottom of the pan, in my case this is 1/4 cup. If you add too much you’ll end up with half burnt quinoa and half unpopped (trust me…).

sunflower butter bars, chocolate, bars, quinoa

Once you add the quinoa in with the oat flour and stir in the maple syrup and coconut oil, you can press it all into the 8.5×11 baking dish lined with parchment paper. I use my hand at first, then press down with the bottom of a measuring cup to even it out.

Bake the crust until its formed together and starting to brown. Place it in the fridge or freezer to cool. Personally I like things done fast so I put mine in the freezer while I prep the sunflower butter layer.

I didn’t get a photo making the sunflower butter layer, but it’s quite simple.

Add more or less coconut flour depending on how oily the sunflower butter is. Throw all the ingredients together, let it sit for 5-10 minutes to “thicken” with the coconut flour.

Next, throw the sunflower butter layer on top of the crust layer, set aside.

Lastly, melt your chocolate and coconut oil in the microwave, but be careful! Do not microwave for longer than a minute and only do 15 second intervals. Every time you remove after the 15 second interval give it a good stir with a plastic spatula. The chocolate will melt quickly and you don’t want it to burn.

sunflower butter bars, chocolate, bars, quinoa

Remove the bars from the fridge/freezer, pour the chocolate directly on top of the sunflower butter layer and sprinkle on some sea salt if desired.

Place back in the fridge/freezer and enjoy once the chocolate layer hardens. May take up to 1-2 hours.

sunflower butter bars, chocolate, bars, quinoa

Have fun surprising your friends with *popped* quinoa! When I found this out years ago I couldn’t believe the nutty and crunchy goodness of cooking quinoa this way.

Even skeptics out there that don’t like regularly cooked quinoa are going to love this!

Let me know how it turns out in the comments and don’t forget to subscribe to stay in the loop for more healthy desserts like this one.

NEWSLETTER SUBSCRIPTION

Also try my key lime pie if you are looking for another fun healthier whole food treat to make!

sunflower butter bars, chocolate, bars, quinoa

Print Recipe
Dark Chocolate Sunflower Butter Bars
Gluten free, dairy free, refined sugar free, nut free, paleo sunflower butter bars that are made with popped quinoa for a crunchy texture and nutty flavor.
Course Dessert
Prep Time 35 minutes
Passive Time 2 hours
Servings
pieces
Ingredients
Sunflower Butter Layer
Chocolate Layer
Course Dessert
Prep Time 35 minutes
Passive Time 2 hours
Servings
pieces
Ingredients
Sunflower Butter Layer
Chocolate Layer
Instructions
Crust Layer
  1. Preheat oven to 350 degrees F and prepare an 8.5x11 baking pan. In a medium sized bowl add the oat flour and sea salt for the crust layer. Whole oats can be processed into a flour using a blender, food processor, or even a handheld coffee grinder.
  2. Heat large skillet on stove top to medium high heat until very hot (no oil) and add in 1/4 cup quinoa until it becomes light brown and starts popping. This may take 1-3 minutes depending on how hot the pan is. Be careful not to burn! Repeat with each 1/4 cup until you have 3/4 cup total. The quinoa should have a nutty smell and be golden brown. Add to oat flour bowl.
  3. Pour the maple syrup and softened coconut oil into the flour and quinoa bowl. If your coconut oil is hard, soften in the microwave with 15 second intervals. Be careful, if it's liquid, it will be difficult to from into a crust. Mix well.
  4. Add the mixture to the prepared pan and press down evenly.
  5. Bake cookie layer for 11-14 minutes, or until starting to brown. Allow to cool in the fridge to harden up while you prepare the other layers.
Sunflower Butter Layer
  1. To make the sunflower layer, mix all ingredients (sunflower butter, maple syrup, coconut oil, and coconut flour) together in a medium sized bowl. If the sunflower butter is dry, you might need less coconut flour. It helps the mixture thicken up considerably.
  2. Layer the thickened sunflower butter over the cookie layer once it has cooled.
Chocolate Layer
  1. Place dark chocolate chips and coconut oil in a small bowl. Starting with 15 second intervals microwave and be sure to stir after each interval until they have just melted.
  2. Cover the crust and sunflower layers you already made with the last chocolate layer. Use a rubber spatula to even out the top of the bars. Sprinkle extra sea salt on top if desired. Refrigerate for about two hours to set before cutting OR place in the freezer for about an hour if you need to speed up the process.
  3. Store bars in an air tight container in the refrigerator for up to a week, or in the freezer for 2-3 months.